Calendar
The interactive calendar controls the inventory for your hotel. It shows all your Rooms and all your Reservations.
Calendar Topics
Making a Reservation for a New Guest
When making a booking via the Calendar there are slightly different steps to follow depending on if the guest has stayed previously.
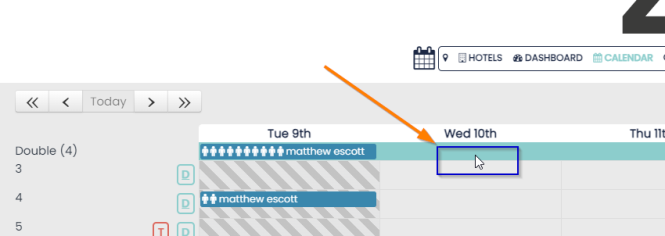
To start you can either click on the room type or the room itself, on the day you wish to book.

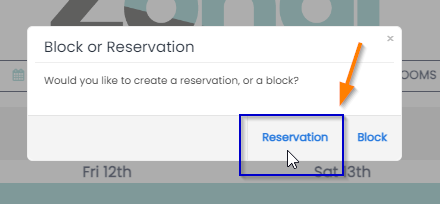
Step 1:
A pop-out box will appear: select “Reservation”
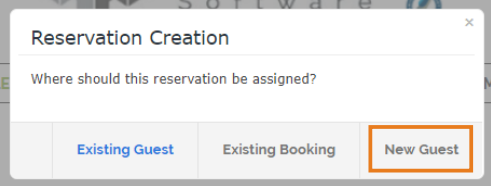
Step 2:
A box will pop up; choose “New Guest” when making a reservation for a guest who has not stayed in your hotel before. This will create a new booking and a new guest profile.
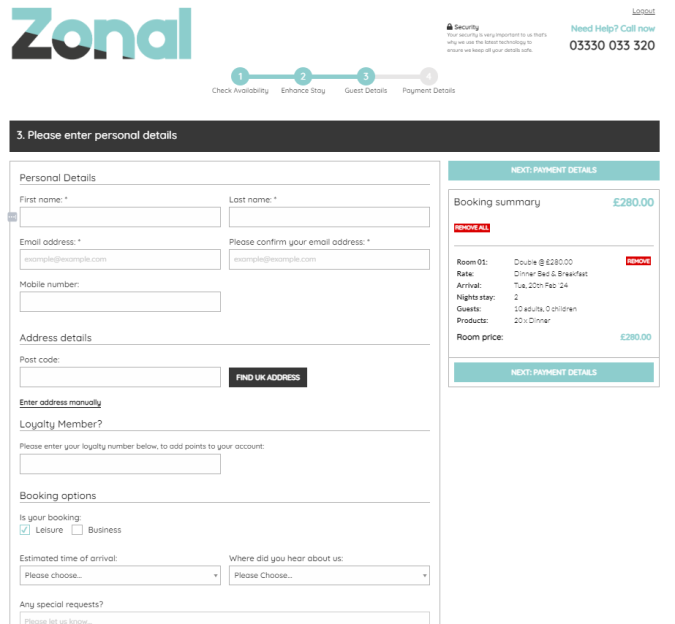
Step 3:
You will be taken to the guest details page. Required fields will marked with an asterisk.
Step 4:
The Booking Engine will also offer the chance to add further Booking Details:
For more information please see our Availability Page toipc.
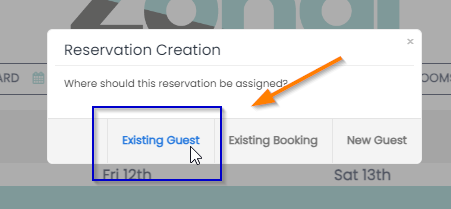
Making a Reservation for an Existing Guest
To start you can either click on the room type or the room itself, on the day you wish to book.
Step 1:
A pop-out box will appear: select “Reservation”

Step 2:
A box will appear: select “Existing Guest”
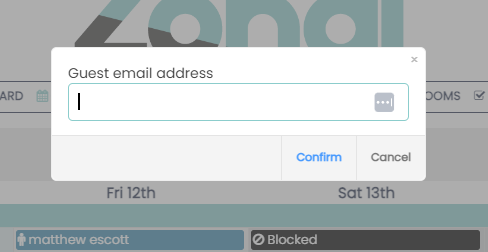
Step 3:
Enter the guest’s email address and click confirm, a new Booking is created and added to the Guest’s profile.
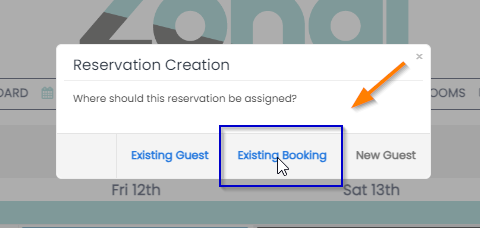
Adding to an Existing Booking
To add a reservation to an existing booking (e.g. – Mr. Smith has a double room booked and wants another room added on to the same booking/invoice), click on any available cell (for the room and day you require)
Step 1:
A pop-out box will appear: select “Reservation”

Step 2:
A box will appear: select “Existing Booking”
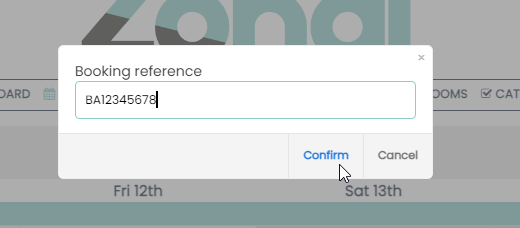
Step 3:
Add in an existing booking reference and select “Confirm” and the reservation is added to the booking. By creating a reservation for an Existing Booking, a new reservation is created and added to an Existing Booking within a Guest’s profile.
Assigning a Booking to a Room
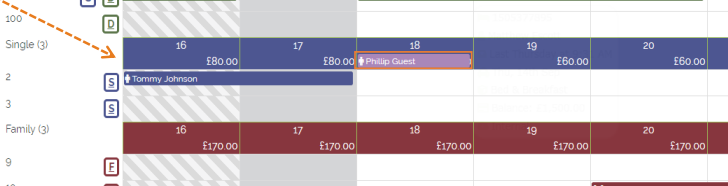
All your bookings will fall straight into your calendar as individual reservations.
- Reservations from your bookings will fall into the room type bar
- To assign the reservation, simply click and drag the reservation to an available room
Managing Reservations
As well as moving reservations, you can drag and drop to the past or future, extend and reduce the length of a reservation, and check-in and out via the Calendar.
To extend or reduce a reservation, click and drag the far edge of the booking.
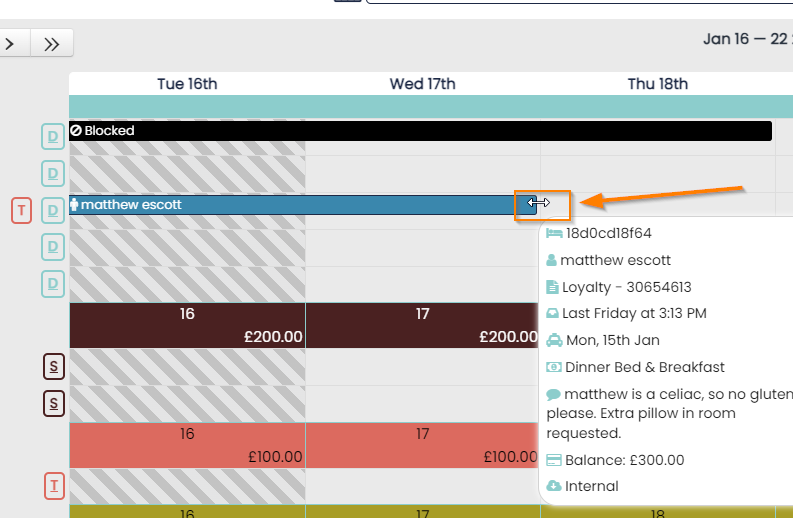
Check-in Reservations
You can check in reservations through the calendar if they are arriving or departing on the current day. Clicking on a reservation scheduled for today brings up a quick options menu.

Clicking on View Booking will take you to the Booking Hub
Calendar Prompts
Use the calendar to easily manage your bookings. Prompts on the calendar help ensure you make the right changes.
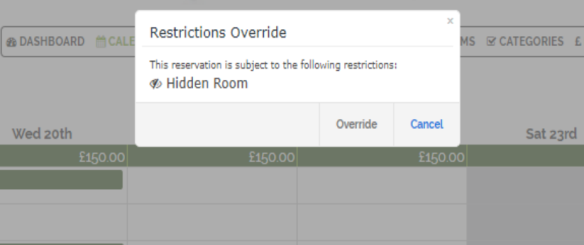
The prompts are as follows:
- Price update This will ask you whether you wish to keep or change your rate plan
- Restrictions Prompt (displayed): This will alert you to any restrictions on that day. Staff members can choose to override if needed