Floats
Floats are an optional feature in finance, used to manage drawer inserts, money belts, and ATMs. If these options are not part of your setup, floats do not need to be used or managed in daily activities.
Floats Topics
Drawer Inserts
Using floats with drawer inserts provides an accurate way to manage cash. Money is assigned to an insert, which is then linked to the point of sale terminal when opened. This ensures a precise record of where cash is held within the site.
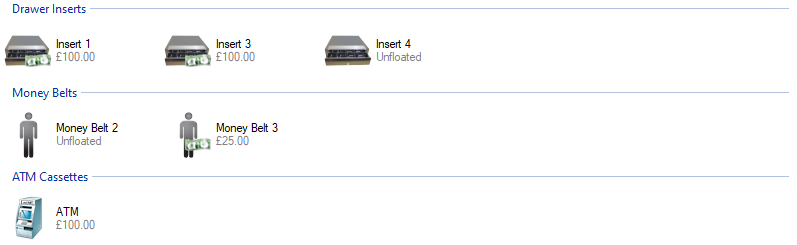
The following rules apply to the display of inserts in the floats screen:
-
Inserts can be floated or unfloated
-
Float values may not be displayed
-
Deployed inserts will not be shown (those inserts that have been linked to the point of sale when the terminal was opened)
Floating Inserts / Updating Float Values
Select an insert to add money to or update the float value:
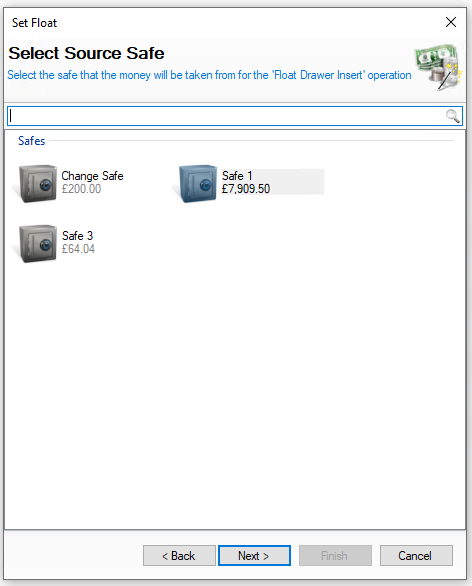
| Click Set Float | Select Safe | Click Next | → | Select the Set Float Date | Click Next | → |
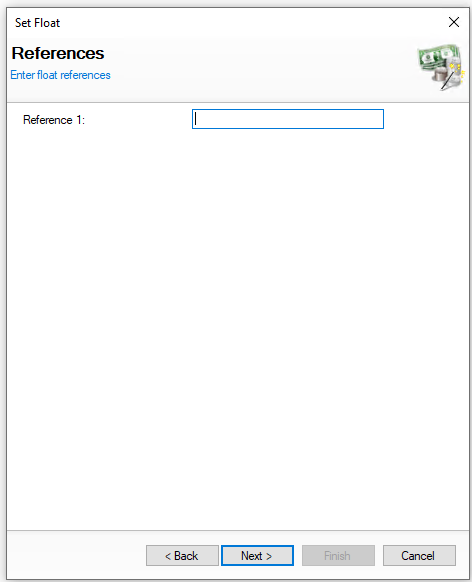
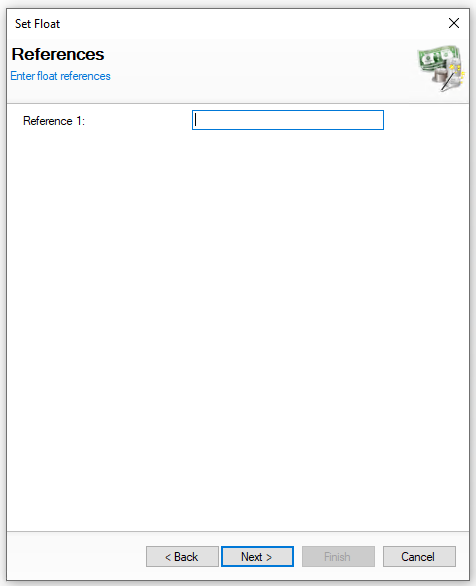
Enter the Reference | Click Next |
|
|
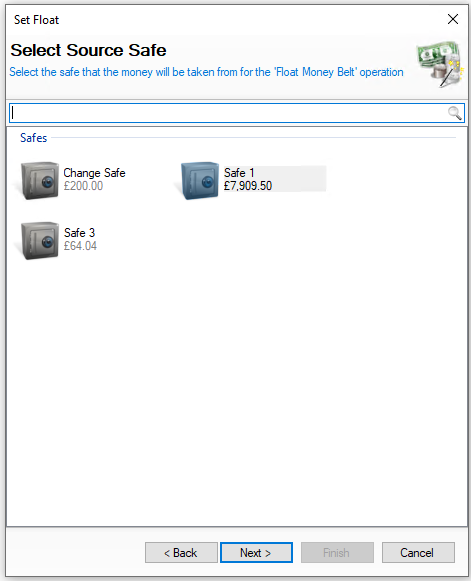
Select the required safe where money will be coming from You will not be shown this step if:
On this step you might:
|
Select the date the float was assigned You will not be shown this step if:
On this step you might:
|
Enter the float reference, this could be the bag or seal number assigned You will not be shown this step if:
On this step you might:
|
|||
|
|
|
|||
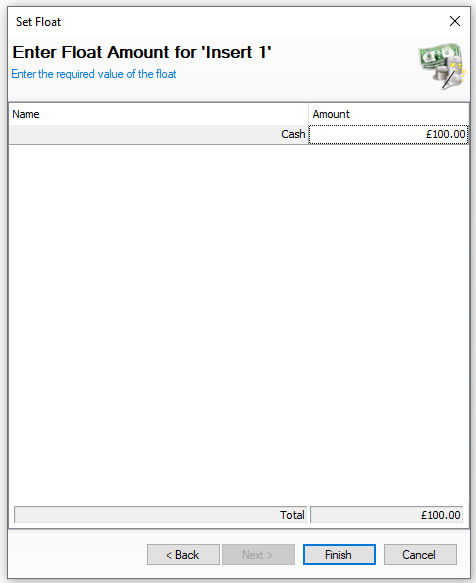
| → | Enter or Edit the Float Amount | Click Finish | ||||
|
Enter the amount of money to be assigned as the insert float value, this can be changed to 0.00 which would transfer the money back to the original source safe On this step you might:
|
|||||
|

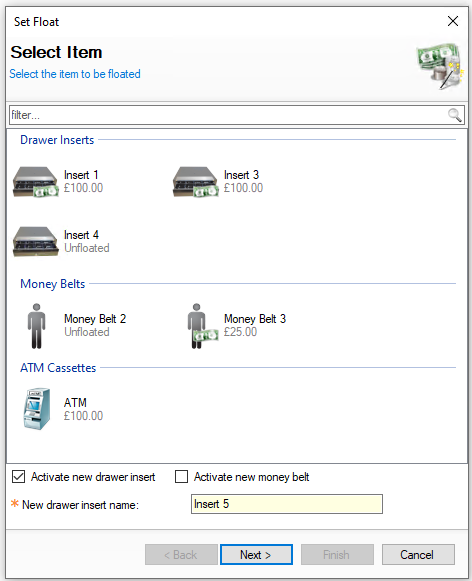
Adding New Inserts
Follow these steps to add a new insert:
| Click Set Float | Select Activate New Drawer Insert | Click Next | → | Complete the rest of the steps as per Floating Inserts |
|
||
|
Optionally update the insert name, by default the system will use 'Insert' and the next available number |
|
|
|||
|
|
|
Deactivating Unfloated Inserts
Follow these steps to deactivate an insert:
-
Select an Unfloated Insert from list
If float values are not displayed any inserts unfloated will not display a notes icon next to the drawer icon -
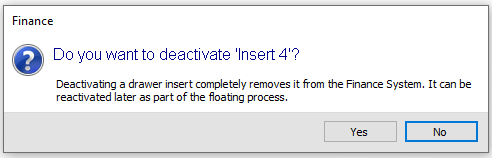
Click Deactivate
-
Click Yes to confirm the deactivation of the insert
Money Belts
Using floats with money belts is only required if you are recording cash given to front of house operators for their shift, if no float is issued this process is not required and floats for money belts will not be displayed. If used, money is assigned to the money belt, which is then linked the point of sale operator when they start their money belt session.
The following rules apply to the display of money belts in the floats screen:
-
Money belts can be floated or unfloated
-
Float values may not be displayed
-
Deployed money belts will not be shown (those money belts that have been linked to the point of sale operator when they started the session)
Floating Money Belts / Updating Float Values
Select a money belt to add money to or update the float value:
| Click Set Float | Select Safe | Click Next | → | Select the Set Float Date | Click Next | → |
Enter the Reference | Click Next |
|
|
Select the required safe where money will be coming from You will not be shown this step if:
On this step you might:
|
Select the date the float was assigned You will not be shown this step if:
On this step you might:
|
Enter the float reference, this could be the bag or seal number assigned You will not be shown this step if:
On this step you might:
|
|||
|
|
|
|||
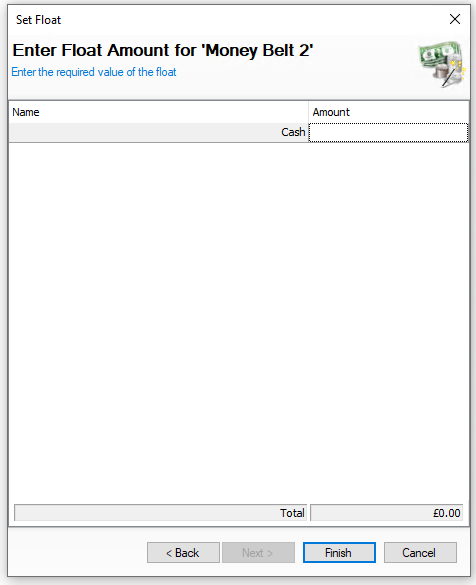
| → | Enter or Edit the Float Amount | Click Finish | ||||
|
Enter the amount of money to be assigned as the money belt float value, this can be changed to 0.00 which would transfer the money back to the original source safe On this step you might:
|
|||||
|

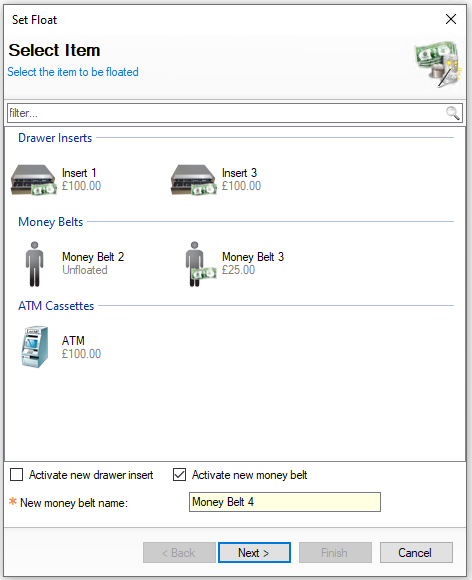
Adding New Money Belts
Follow these steps to add a new money belt:
| Click Set Float | Select Activate New Money Belt | Click Next | → | Complete the rest of the steps as per Floating Money Belts |
|
||
|
Optionally update the money belt name, by default the system will use 'Money Belt' and the next available number |
|
|
|||
|
|
|
Deactivating Unfloated Money Belts
Follow these steps to deactivate a money belt:
-
Select an Unfloated Money Belt from list
If float values are not displayed any money belts unfloated will not display a notes icon next to the person icon -
Click Deactivate
-
Click Yes to confirm the deactivation of the money belt

ATM
When ATM operations are enabled the float given to the cassette must be assigned before being able to deploy the ATM.
Floating ATM
Select the ATM to add money to or update the float value:
The following rules apply to the display of an ATM in the floats screen:
-
ATM can be floated or unfloated
-
Float values may not be displayed
-
A deployed ATM will not be shown
| Click Set Float | Select Safe | Click Next | → | Select the Set Float Date | Click Next | → |
Enter the Reference | Click Next |
|
|
Select the required safe where money will be coming from You will not be shown this step if:
On this step you might:
|
Select the date the float was assigned You will not be shown this step if:
On this step you might:
|
Enter the float reference You will not be shown this step if:
On this step you might:
|
|||

|
|
|
|||
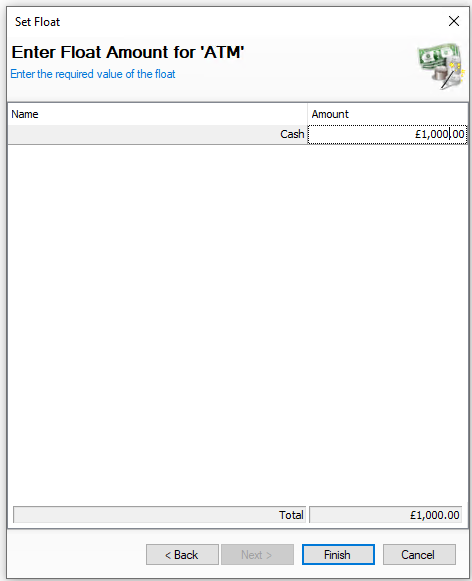
| → | Enter or Edit the Float Amount | Click Finish | ||||
|
Enter the amount of money to be assigned as the ATM float value, this can be changed to 0.00 which would transfer the money back to the original source safe On this step you might:
|
|||||
|