Widget Customiser
The Zonal Bookings widget is often referred to as an “out of the box” or "stock widget" which means it comes ready to use with your account setup. The Widget Customiser is a system feature, allowing you to change the colouring, font, and wording (on some of the sections), toggle certain options and descriptors on or off depending on your needs, and a lot more.
Widget Customiser Topics
Adding a Widget Template
Follow these steps to create a widget template:
-
Click Add widget template
-
Give your template a name
A name is useful for housekeeping. Some users may require multiple templates or styling depending on the size of their estate and what they aim to do with the widgets -
Click the Overall Look tab, define the text colours and button colours
-
Click the Outlet tab, define the text
-
Click the Occasion tab, define the text and card colour
-
Click the Covers tab, define the text and if you require child cards to show
-
Click the Date and Time tab, review and select as required
-
Click the Personalisation tab, define the header text
-
Click the Booking Requirements tab, define the header text
-
Click the Personal Details tab, define the required text
-
Click the Summary tab, define the header text and Guest Portal Link name
-
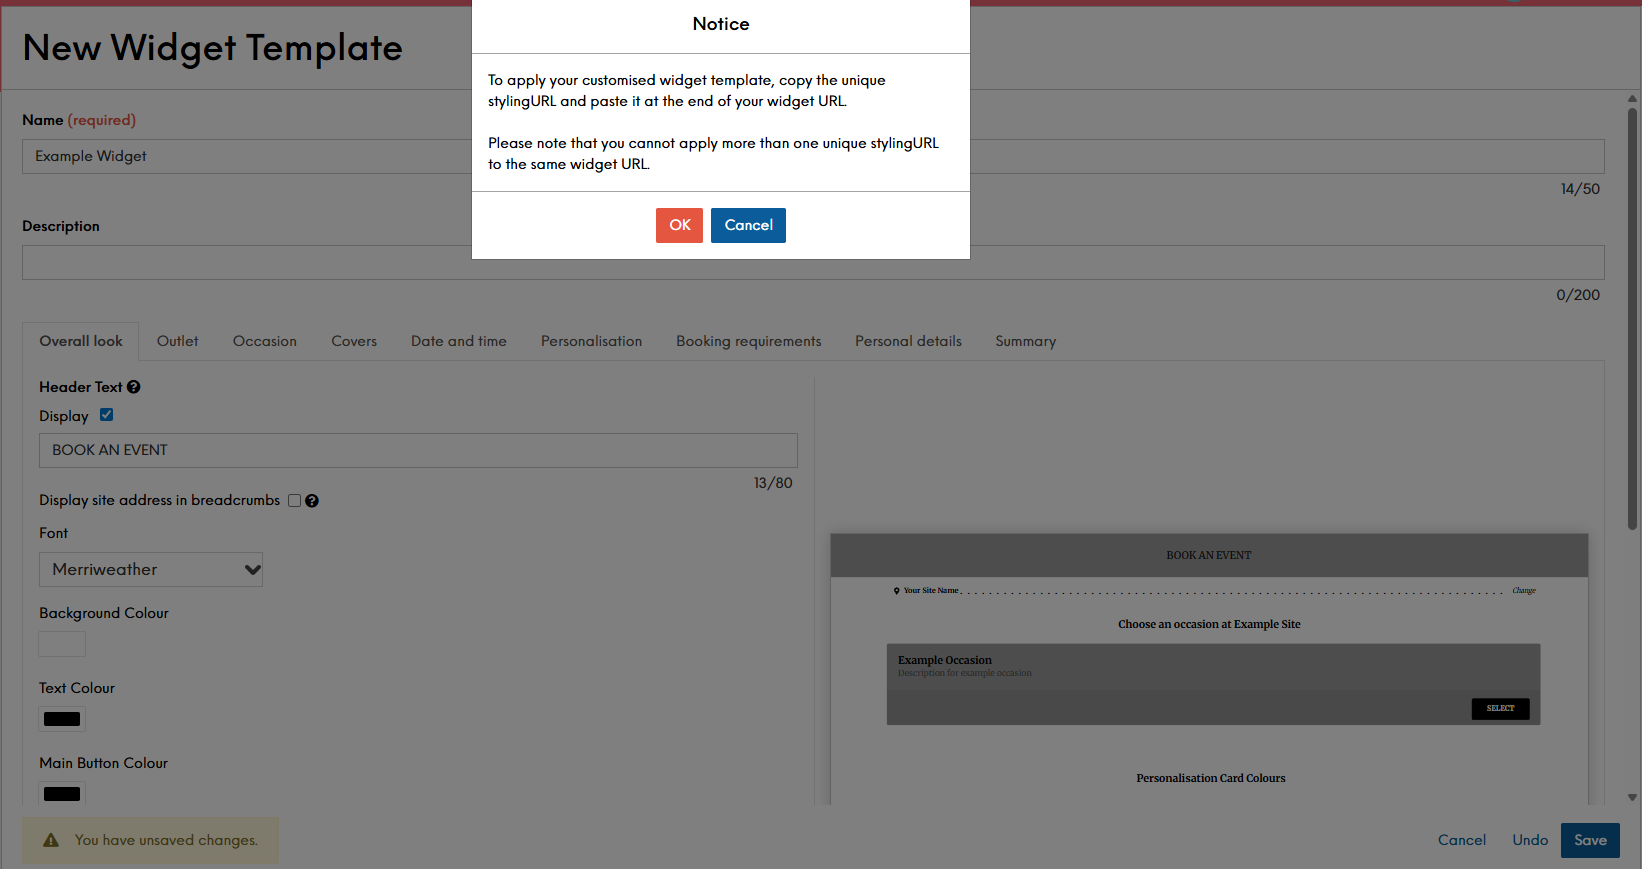
Click Save
-
Click OK
To apply your customised widget template, copy the unique stylingURL (as shown below) and paste it at the end of your full widget URL. You can find out how to get your full widget URL under the Widget URLs topic
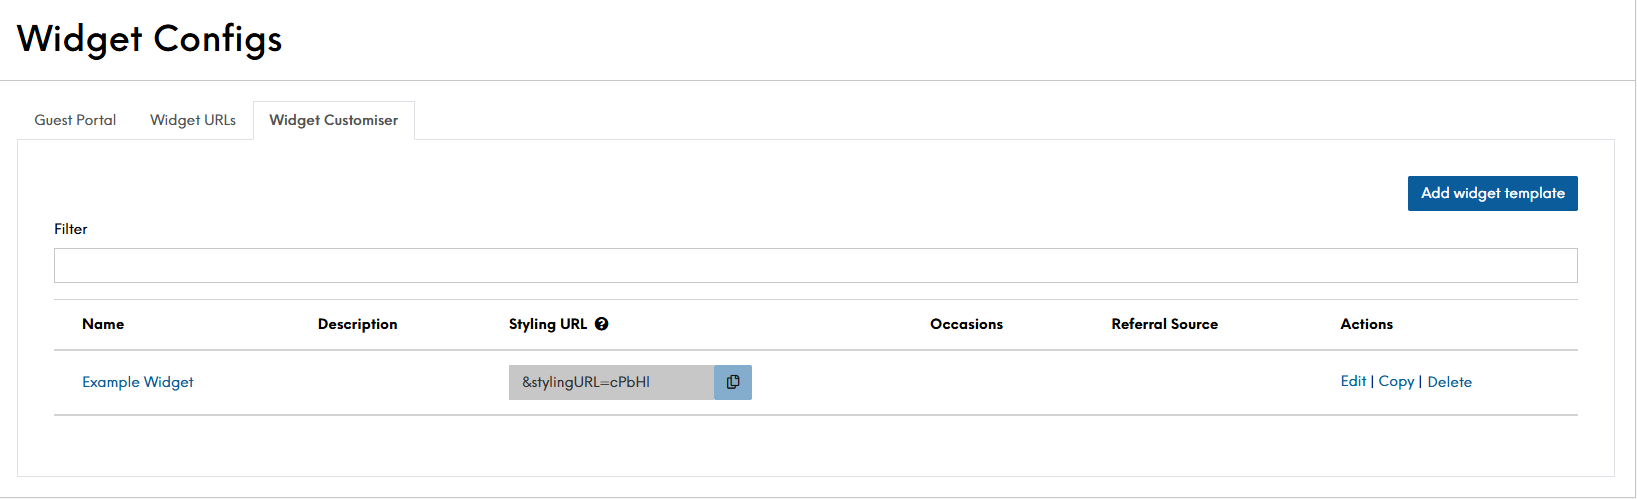
Editing a Widget Template
When selecting to edit a widget, it will open the template. You will be able to make the required amendments to your template and save.
Copying a Widget Template
Follow these steps to copy a widget template:
-
Select from the Actions column to Copy the required Occasion
The copied layout will appear in an editable view. In the Internal name it will be prefixed with "Copy of...", to indicate it's a duplicate of the original -
Edit the fields as your require
-
Click Save Changes
Deleting a Widget Template
Follow these steps to delete a widget template:
-
Select from the Actions column to Delete the required template.
A pop-up will display stating: "Deleting this widget template will revert the styling on your widget to default. Do you wish to proceed?" Either select Delete or Cancel.Be aware that once a template is deleted, there is no way to recover them. If a template is required, you will need to create a new template and re-apply to your widget URL. -
Select Delete.
-
Click Save Changes.
Field Settings & Information
| Tab | Description |
|---|---|
| Overall Look |
Generate the look and feel of your overall widget. Allowing for font changes and text colouring, along with headers & footers |
| Outlet |
If using the Estate or Company level widget, define how you outlet selections are presented |
| Occasion |
Define how you want your occasions offered, give them a bespoke colouring or even pre-select the occasion for the widget you are creating |
| Covers |
By default, the system will enable child covers. Here you can disable and/or re-word their descriptions |
| Date and Time |
By default, the system will have the date range selection enabled. Here you can disable and/or re-word your header text |
| Personalisation |
Define both if you want the headers showing, as well as what text you want displayed for your Area, Menu and Extras on offer |
| Booking Requirements |
All enabled by default, you can disable and/or re-define the wording |
| Personal Details |
Define text and header. Here you can also enable the referral sources to display on the widget. You will need to enable the feature and configure an initial source. You can read the Booking Sources topic to find out more |
| Summary |
Define how you want some of the text in the guest portal to show |