Scheduling
Scheduling appears within many areas of the Events configurations:
-
Occasions
-
Menus
-
Areas
-
Extras
Schedules are optional, but without them, each of these items will be available at all dates and times.
Prior to setting a schedule, you must have already set up the initial details of your occasion, area, menu or extra. To configure the schedule, you need to edit that particular item, and the scheduling section will be available at the bottom of the edit screen.
Scheduling Topics
Creating a Schedule
Follow the steps to create a schedule:
-
Select Edit alongside the occasion, area, menu or extra for which you want to define a schedule
Scroll down to the Schedule Details panel
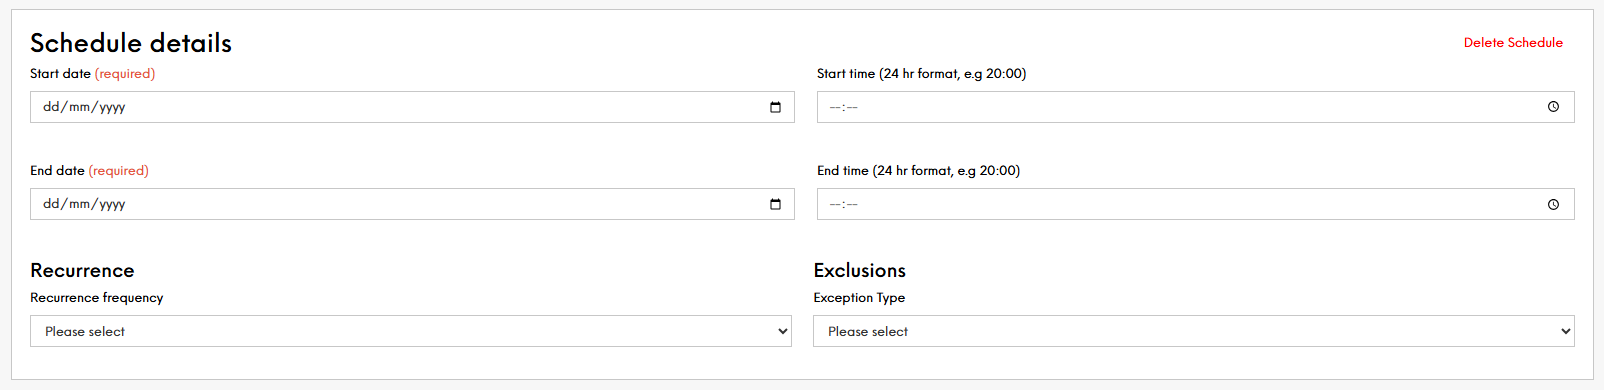
-
Enter the start date and time
-
Enter the end date and time
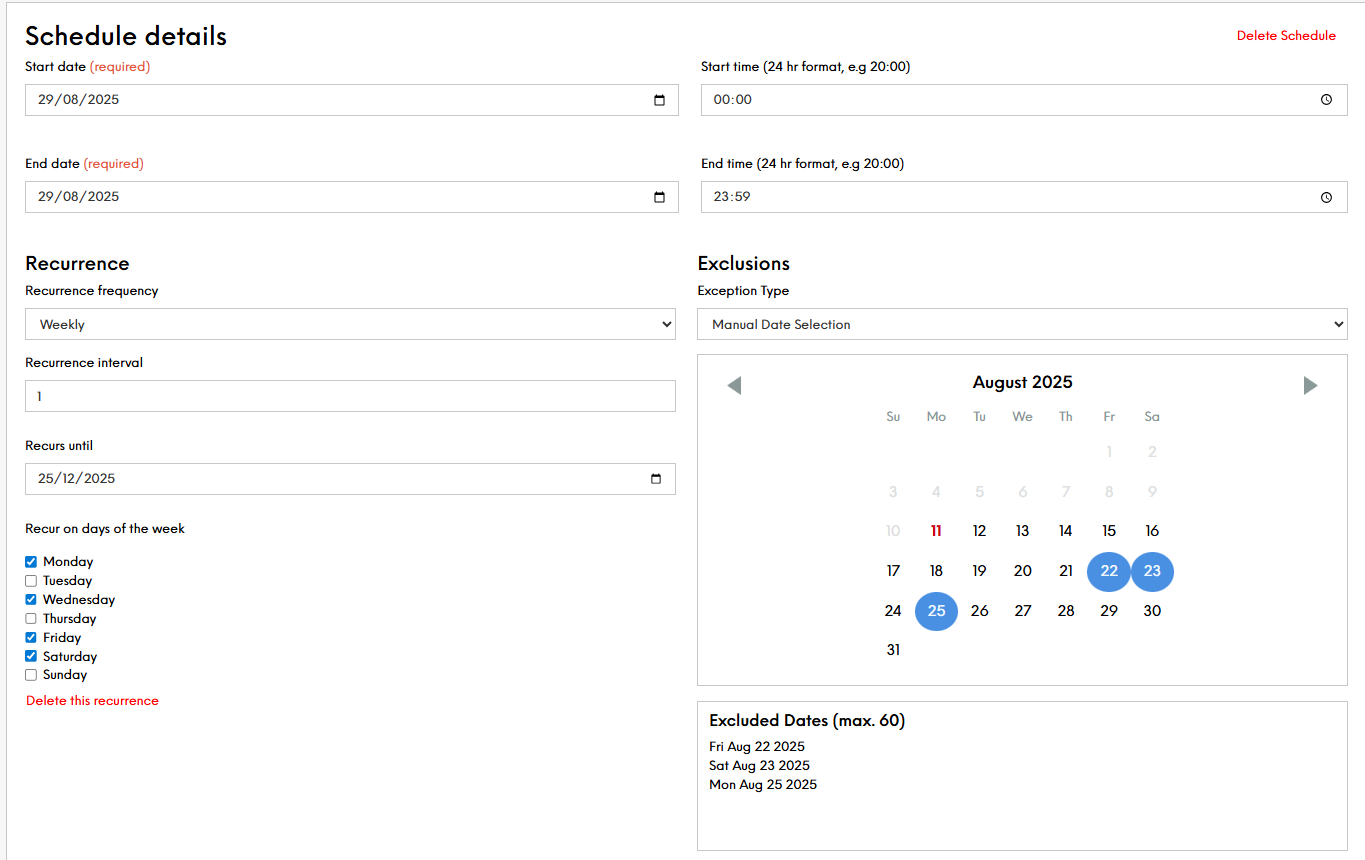
If you want the occasion, area, extra or menu to recur, select the recurrence frequency from the drop-down list
-
Optionally select the Recurrence frequency
-
Set the recurrence interval
-
Enter the date of which the recurrence will stop.
-
Select the days of the week you want this to recur on
-
Optionally select the Exclusion type
Select either:
-
Exception Rule OR
-
Manual Date Selection
If you choose to use the Exception Rule, then repeat the same steps as the recurrence rule i.e., 6 to 8
If you choose to use the Manual Date Selection, simply select the dates you do not want to include
When creating a schedule for Extras, there is only the option to define Exclusions by Exception Rule. There is no ability to define by Manual Date Selection -
-
Click Save Changes
Deleting a Schedule
Follow the steps to delete a schedule:
-
Go to your required area i.e., Occasion, Menu, Area or Extra.
-
Scroll to the schedule
-
Select the Delete Schedule option in red text
The details of the schedule will be wiped. If you have clicked Delete Schedule by accident, simply click onto the topic header in the menu column and it will not save the change made -
Click Save Changes.
Field Settings & Information
| Schedule Details | Optional | Description |
|---|---|---|
| Start Date | Optional |
This is the date your availability begins. Guests will be able to book from this date onward, depending on your configuration. DD/MM/YYYY |
| Start Time | Optional |
The time of day your availability starts |
| End Date | Optional |
This is the final date the availability is active. After this date, guests will no longer be able to make bookings for it. DD/MM/YYYY |
| End Time | Optional |
The time your event or booking slot finishes on each applicable day |
| Recurrence | Optional |
This defines how often the availability repeats. You can set it to repeat daily, weekly, monthly, or on specific days of the week – ideal for regular events or offers. When defining a recurrence, you will need to select a frequency of either:
Defining a recurrence interval. Usually set to "1". Stating an end date that this recurs until: DD/MM/YYYY Along with the days of the week |
| Exclusions | Optional |
Specific dates where the schedule should not apply. For example, if your event recurs every Saturday but you want to skip a specific holiday weekend, you’d list that date here. When defining exclusions, you will need to select a frequency of either:
Defining a recurrence interval. Usually set to "1" Stating an end date that this recurs until: DD/MM/YYYY Along with the days of the week Alternatively within the Occasions, Menus & Areas (but NOT Extras) you are able to select an exclusion type. Aside from the above, you have the option to configure by Manual Date Selection. You can select up to 60 days to exclude from your schedule |