Count Locations provide an easy-to-use, configurable solution for creating and managing stock count areas within a site. You can define which products belong to each location and set the order in which they appear. When a count is performed, products are displayed in the set order, making audits quicker and more efficient. This feature works with both printed count sheets and the mobile Stocks app.
For example, a bar may be divided into several count locations such as the back bar, fridges, storage areas, and drink wells.
Count Location Topics
Managing Count Locations
Follow these steps to add a count location:
-
Click Add Location
-
Enter the Location Name, Location Print Note (optional)
-
Select Has Fixed Stock (if required)
This setting is only relevant if suggested orders are being used with APOS, stock in this location will not be included in suggested order calculations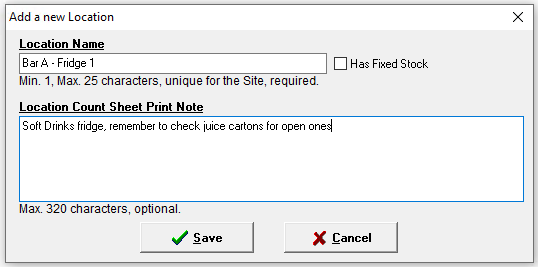
-
Click Save
Other Options
-
Delete Location - will remove the count location
-
Select a location | click Delete Location | click Yes to confirm the deletion
-
-
Edit Location - will enable the name and description to be updated
-
Select a location | click Edit Location | update the Name and Description as required | click Save
-
Adding Products to Locations
Each location has specific products assigned and arranged in the desired count order. The same product can be included multiple times within a single location if needed.
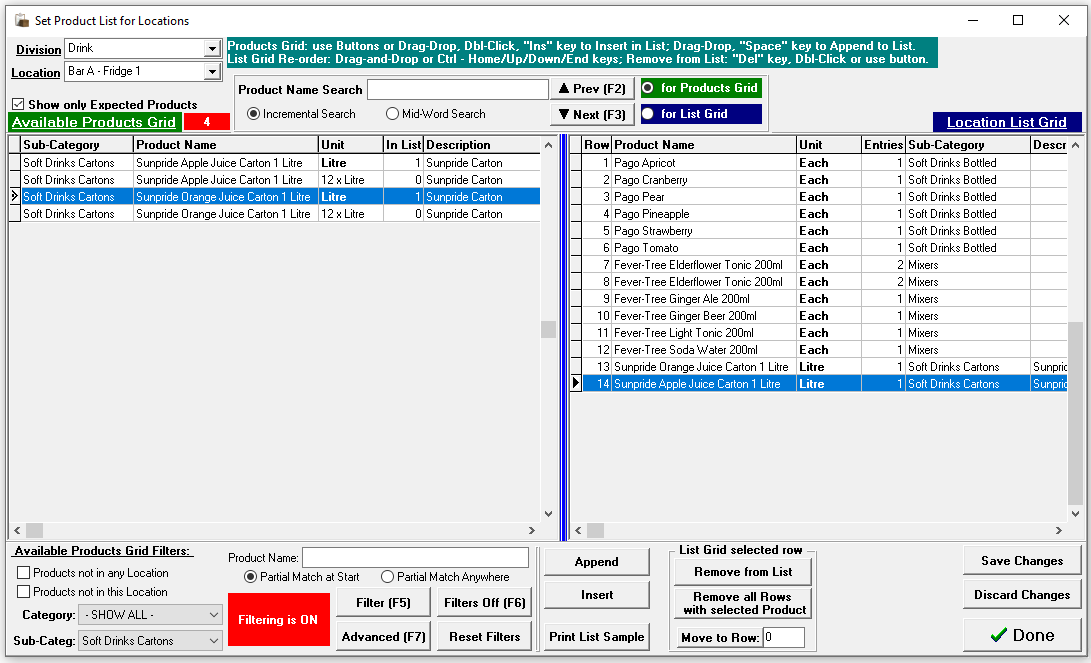
Follow these steps to add products to locations:
-
Select the required Location from the list
-
Click Edit Location Count List
-
Select the required Division from the drop down
-
Apply filters or search criteria to find the required products and add them to the location
-
Products can be added either by their stock or purchase unit
For example a fridge might use the a single / each unit where as a cellar or store room might use the purchase pack size-
The same product can be added multiple times as required
-
Append will add the product the bottom of the list
-
Insert will add the product below the selected item in the list
-
-
Set the required sort order by
-
Dragging and dropping products in the list
-
Selecting a row and setting the row value
-
-
Click Save Changes
Other Options
-
Print Sample List - prints a sample count sheet for the location
-
Click Print Sample List | the list displays on screen use to check or print as required | click Close
-
-
Remove from List - will remove the selected item
-
Click Remove from List
-
-
Remove All Row with Selected Product - removes all entries for the product
-
Click Remove All Rows with Selected Product | click OK to confirm the removal
-