Manage Rooms
You can import room image layouts under the Manage Rooms option. Room images must be in PNG, GIF, or JPG format. There is no restriction to the size of image that can be used, Tables will adjust the size of the canvas to suit. Site Host users will be able to pinch and zoom to focus in on different areas of the room.
Manage Room Topics
Adding a New Room
You can create new rooms, view existing images and upload new images:
-
To create a new Room, select New Room and enter the required room name
The new room will be added to the list
-
To delete a room, select Delete alongside the room that is no longer required.
Adding a Room Image
Follow these steps to upload a new image to represent a room:
-
From the Site Setup menu, choose Manage Rooms
-
Select Upload Image alongside the required room
The upload screen is displayed
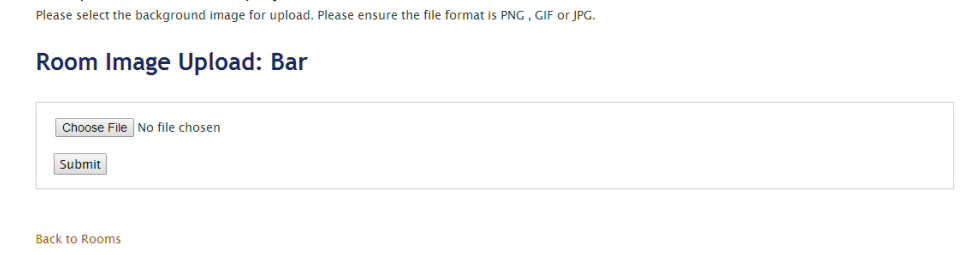
-
Select Choose File and navigate to the file you want to upload
-
Click Submit
Tables uploads the file. You will see a preview of the file
-
Select Yes to accept the image or No to select a different image
A message will be displayed indicating whether or not the upload was successful
Deleting a Room Image
There is no way to delete a room image. Once uploaded, you have the ability to upload a new image, which will as a result override and replace the original image. In order to completely delete or start fresh, you will be required to delete the room and add a new room.