Managing Invoices
Invoices are essentially billing documents that detail the financial transaction between the restaurant and the customer (or sometimes a third party like an event organizer). They serve as a formal record of payment for services rendered. Events allows you to build invoice templates within the administrator panels, and here we walk you through how to raise an invoice for your customers booking.
If you do not have invoice templates created, you can find out how to this under the Events Central Reservations, and in Invoice Configurations.
Invoice Topics
Create an Invoice
Follow these steps to create an invoice:
-
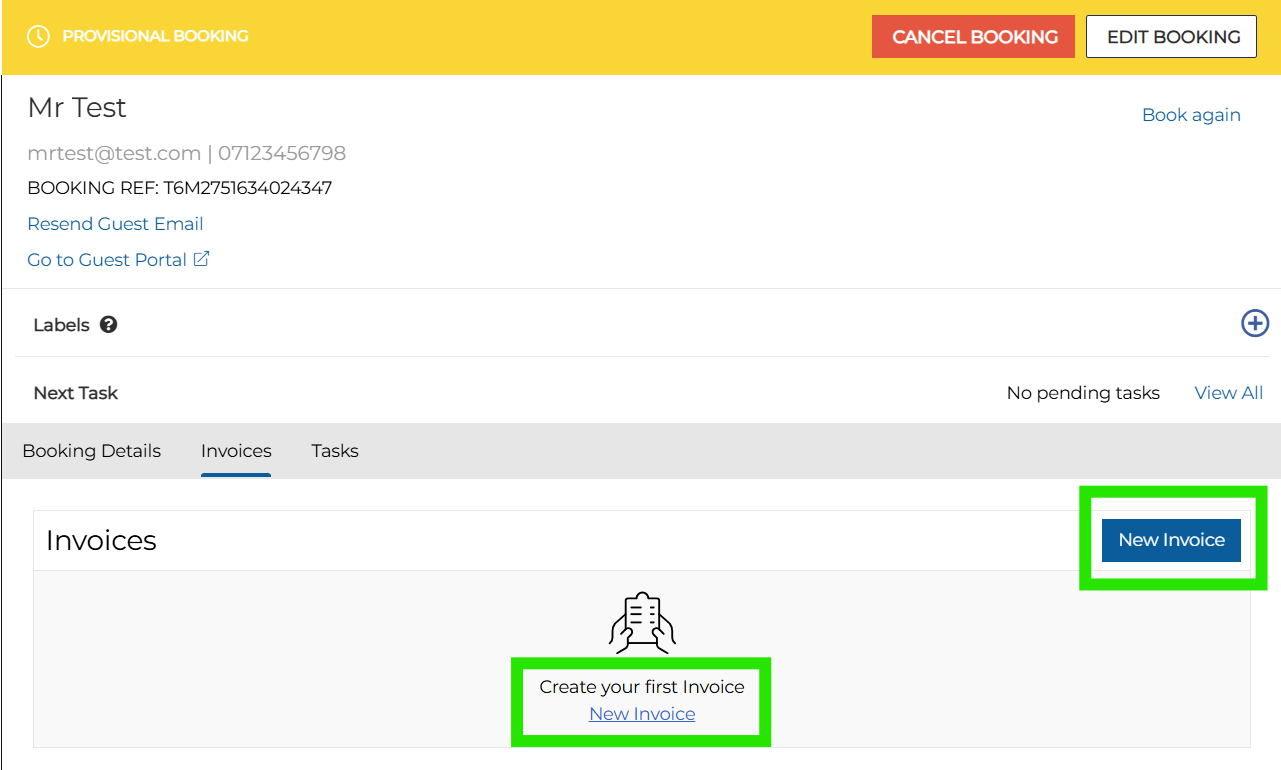
Open a booking and navigate to the Invoices tab
-
Click New Invoice
 A blank invoice template is displayed
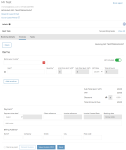
-
Enter the following fields, where applicable:
Field Description Additional Information Manually Entered Fields Invoice Name This field is the header of the invoice
It is a mandatory field and has a character limit = 50 characters maximum: 1 character minimum
Item This field is the name of the product (item) on sale (e.g. menu name)
You can add more than 1 item Quantity Value This field is the amount of people associated with an item
It is a mandatory field and supports only numerical values from -100000 to 100000 Unit Price Value This field is the price of an item
It is a mandatory field and supports only numerical values from 0 to 100000 VAT Rate VAT rates are displayed in a drop down list format
The VAT rates available in the drop down are configured in the invoice template configured on Events Admin
You can select only one VAT rate per item
Discount Value This field is the discount amount that the Host app wants to give to the client
It is an optional field and supports numerical values only
The discount amount applies to the Total amount due only
Payment Due Date Date the payment is due
This is a mandatory field
Client Reference This field can be used to insert a reference number used by internally by the client
This is an optional field designed for Host users
It supports both alphabetic and numerical values
Billing Address Address to be displayed on the invoice of the client
The following fields are mandatory: Name | Street | City | Postcode Automatically Generated Fields Sub-Total (Excl. VAT) Automatically calculated based on quantity and unit price value per item
Total Amount Automatically calculated based on the sub-total and VAT amount per item
Total (Excl. VAT) Automatically calculated based on the sum of all sub-total
Total Amount Due Automatically calculated based on the sum of all total amount
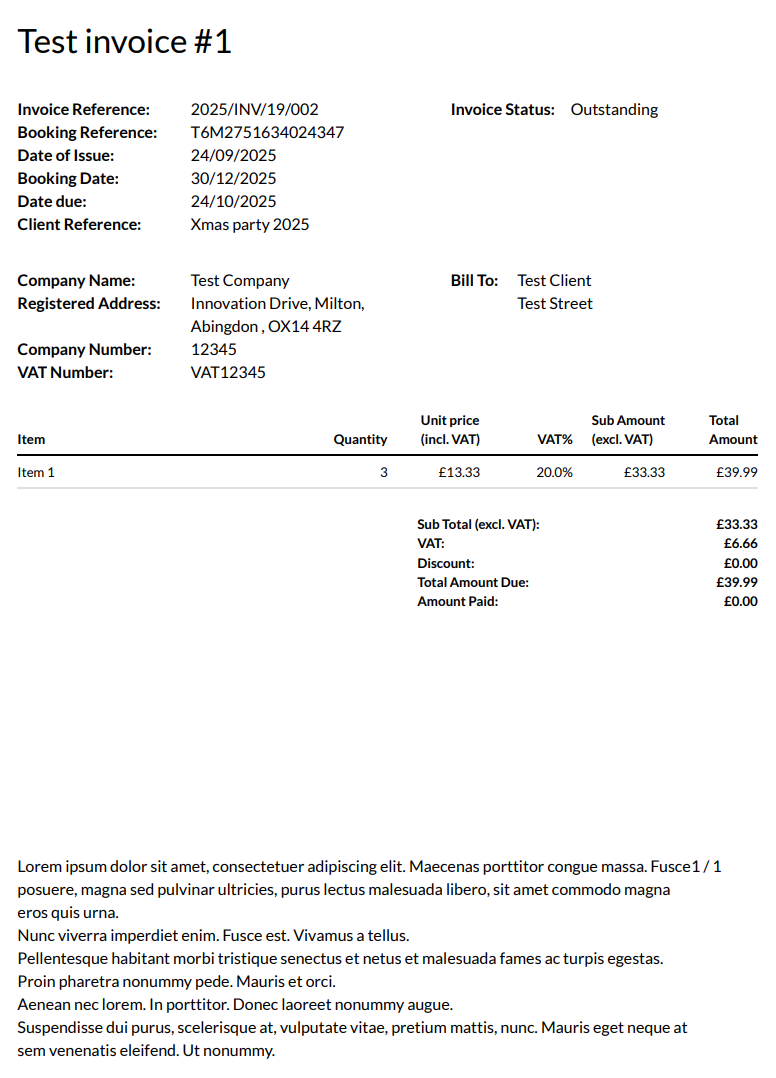
Invoice Reference Automatically generated based on [Year],[INV], [Site ID], [Sequential Numbering]
Example: 2023/INV/1/001
-
2023 = Year
-
INV = Invoice
-
1 = Site ID
-
001 = sequential numbering
Invoice Creation Date Automatically generated by the system on the date which the invoice is created
Booking Date Based on the booking date field -
-
Click Save
Once all mandatory fields are filled by the Host app user, the invoice must be saved to view a PDF version. All fields are locked and the invoice cannot be edited

View Invoice PDF
Follow these steps to download the PDF invoice:
-
Click View Invoice PDF
This automatically downloads the file on your computer
Log a Payment for Invoice
To log a manual payment for an invoice, an invoice must already have been created.
Follow these steps to log a payment:
-
Click Log an Invoice Payment
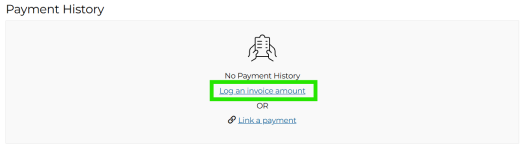
The log payment window will be displayed


-
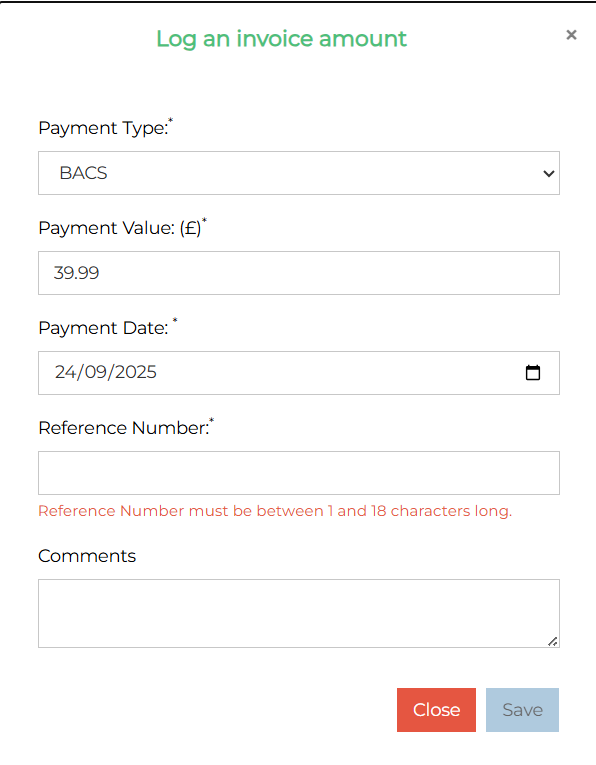
Complete the following required fields:
-
Payment Type
-
Payment Value
-
Payment Date
-
Reference Number
-
Comments
Conditions for logging a payment:
-
All payment fields are mandatory
-
Overpayment cannot be logged (payment is greater than the total amount due on the invoice)
-
No negative values can be logged as a payment
-
You can log more than payment
-
-
Click Save
Once a template is saved, under the payment section, all payment logged are displayed in a table format
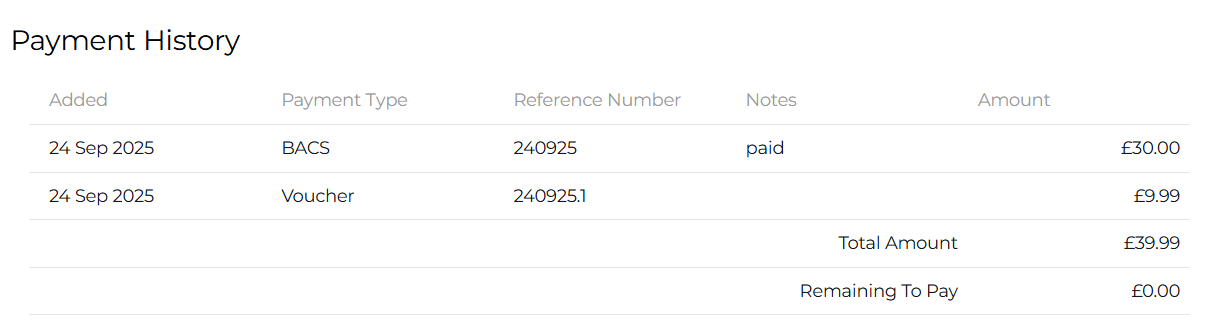
As shown above:
-
Total Amount = Total amount due for the invoice
-
Remaining to pay = The amount remaining to be paid on the invoice
-
Only when the remaining to pay value = 0.00 can the user mark an invoice as paid.
Other Invoice Activities
Read an Invoice
All invoices created for a booking are displayed on the invoice tab.
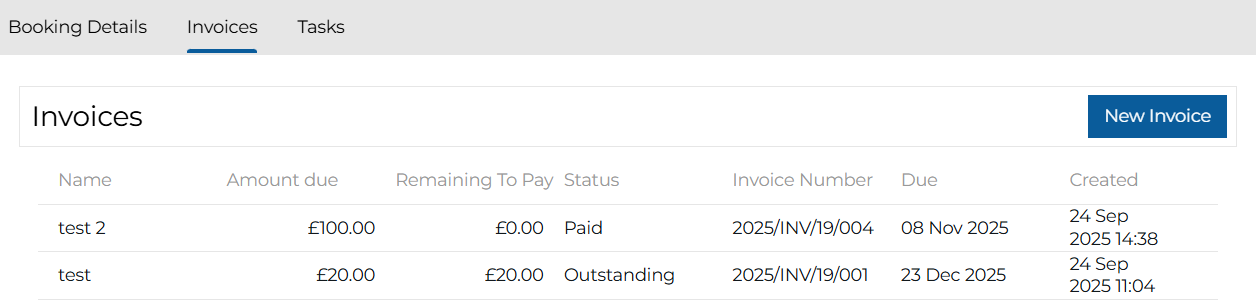
This view gives the user a global view of the invoices and its details:
-
Name of invoice
-
Amount Due
-
Remaining to pay
-
Status
-
Invoice Number
-
Due Date
-
Created Date
To view details of an existing invoice, the user can click on the invoice name and will be re-directed to a read-only view of the invoice
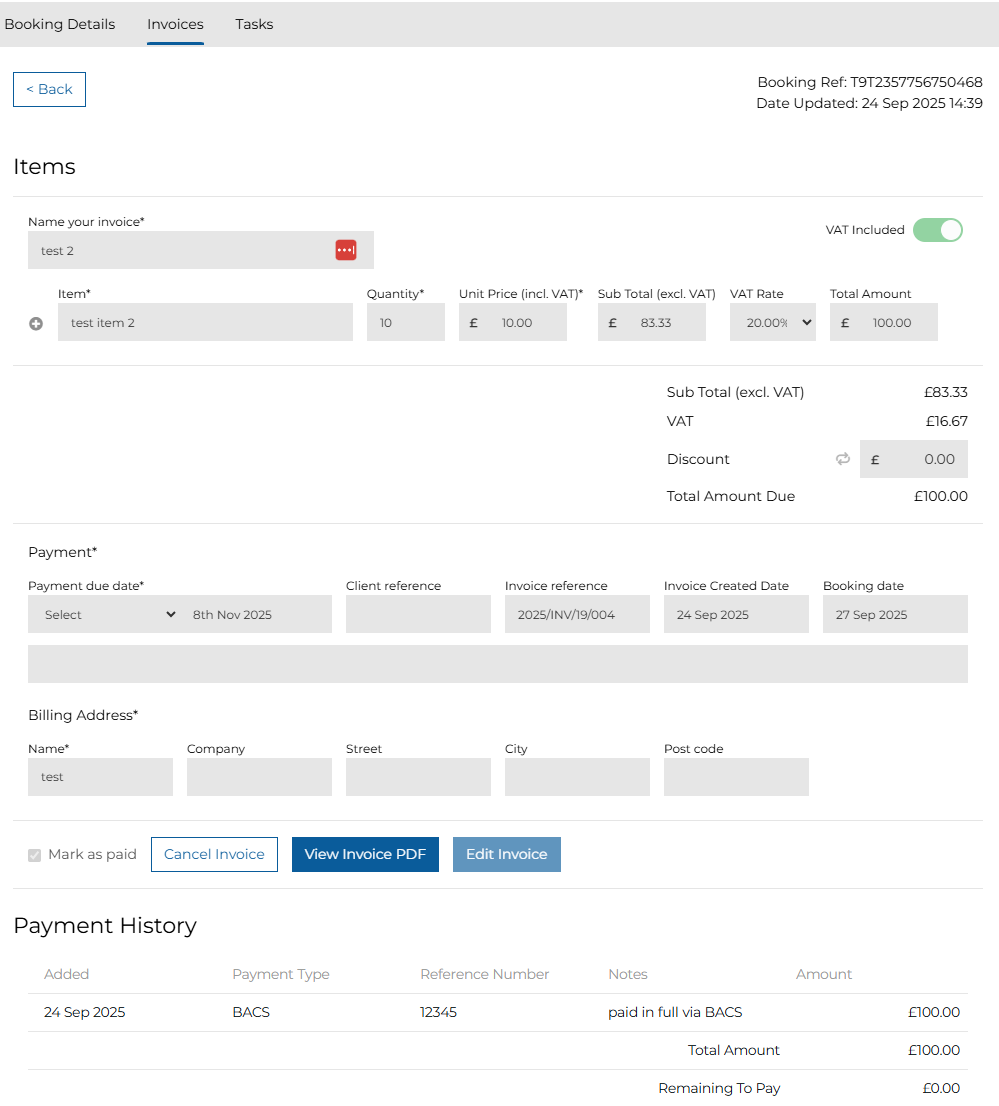
For an invoice you can:
-
Mark as Paid
-
Cancel an Invoice
-
View Invoice PDF
-
Edit an Invoice
Mark an Invoice as Paid
To mark an invoice as paid, the remaining pay value must be 0.00.
Once the ‘Mark as paid’ checkbox is selected, the status of this invoice is updated to ‘Paid’

Cancel an Invoice
To cancel an invoice, you can click ‘Cancel Invoice’ button and a cancellation popup appears.

On click, a cancel warning popup appears, and you are requested to insert a mandatory cancellation reason.
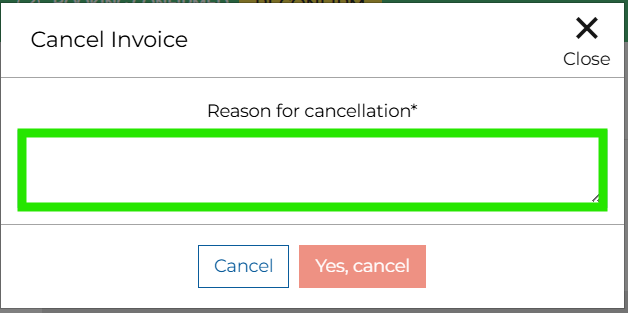
Once a reason has been provided, you can proceed with the cancellation by clicking on ‘Yes, Cancel’ button.
After confirmation, the invoice is status is changed to ‘Cancelled’ and on the invoice tab, the invoice is strike-through.
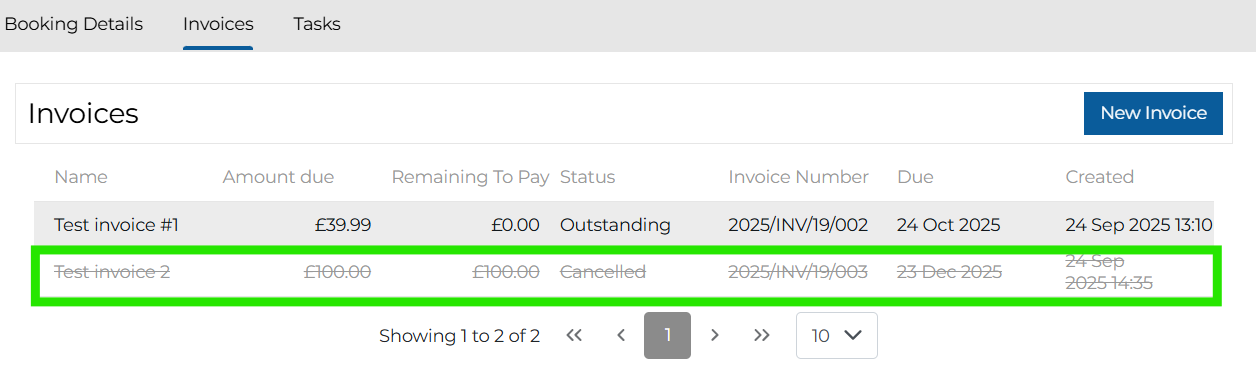
If you would like to see details of the cancelled invoice, you can click on the invoice name and a read only view of the invoice with pre-filled information will be displayed.