Exporting Reports
When viewing a report, you may find it useful to export it to a file so that you can use it elsewhere, email it, or share it with a colleague. The export feature lets you save reports in a range of different formats.
Exporting Topics
Exporting Reports
Follow these steps to export a report:
-
From an open report click the Export icon in the toolbar
-
Select the export settings as required
-
Update the export location (if different from the default set)
-
Update the file name (if required)
-
Select any layouts / views required (report dependant)
-
Select any sections (report dependant)
-
Choose a section setting Single Workbook, sheet per Section or Workbook per Section, sheet per layout
-
-
Change the file type if required (HTML / XLS / CSV)
-
Set Open Afterwards for HTML files

-
-
Click OK
Additional Information
-
Exporting to CSV enables totals to be included
-
Export to XLS requires Excel to be installed on the machine
-
Export to XLS will retain all formulas that provide calculations, enabling simple 'what if' analysis
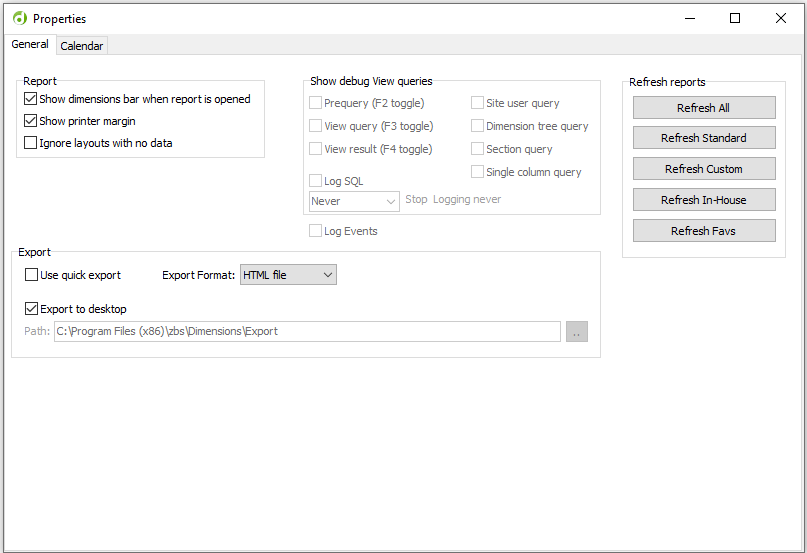
Export Settings
Follow these steps to configure export settings:
-
Click Tools and select Properties
-
Set the Export Options as required
-
Use Quick Export - when selected the report will be exported directly as set in the Export Format and Path
-
Export Format - allows the default format to be set
-
HTML File
-
XLS File (requires Excel to be installed)
-
CSV File
-
-
Export to Desktop - when selected reports will be exported to the PC's desktop
-
Path - defaults to C:\Program Files (x86)\zbs\Dimensions\Export but can be changed as required
-
-
Click the X to close the dialog
-
Click Save to update changes