Choices provide the option to select optional or mandatory selection of other product options when placing orders on point of sale terminals, iServe and guest face ordering channels.
Choices can be either:
-
Added to a Recipe or Standard Line
-
Added to another Choice
Each choice can have up to 19 additional portions which enables 1 choice to be configured with different products or differing unit quantities per portion for correct stock reduction.
Examples
-
Food: Pizza Toppings| Bread Choice | Sauce or Dressing Choice | Cooking Temperature
-
Drinks: Mixer Choice | Number of Glasses | Cocktail Spirit Upsells
Choices Topics
Adding Choices - with Instructions
The following information details creating a basic choice with instructions using the standard choice portion, for more information and examples of view our other example choices - Multi Portion Choices | Nested Choices | Future Changes | Hide Choice Items
Follow these steps to add a choice:
-
With an existing choice selected click New
Using the New option will automatically add the subcategory and any set choice portions from the 'template' choice -
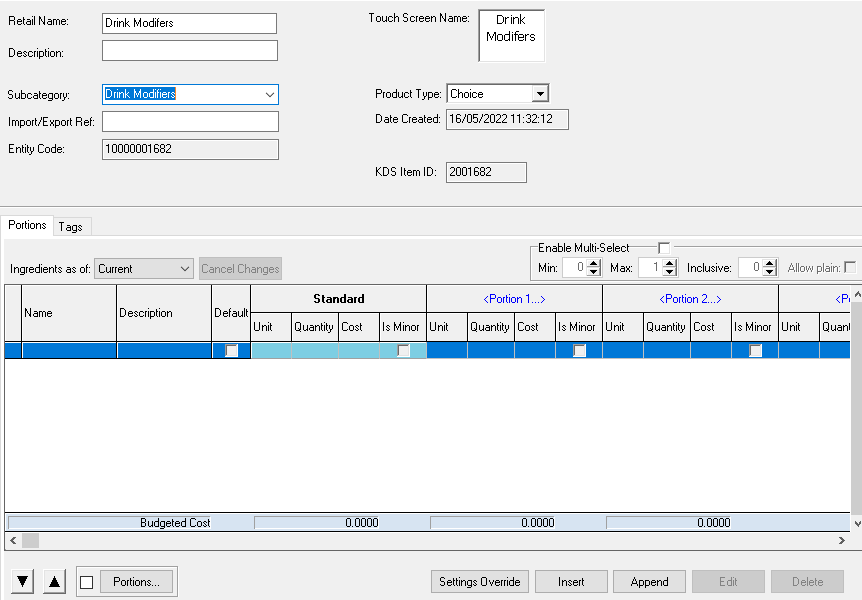
Enter the following details, Retail Name | Description (optional)
-
Update the Subcategory as required
-
Click Insert
-
From the Add Portion Ingredient list using search or product type filters find the first product to add to the choice, once selected click OK
In this example a text filter of 'Drinks Mods' has been applied to find all products with that description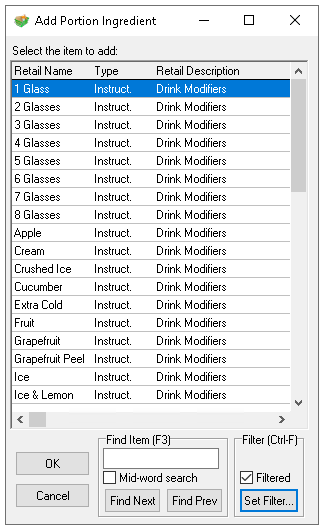
-
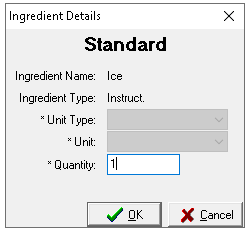
Enter Quantity 1 | click OK
-
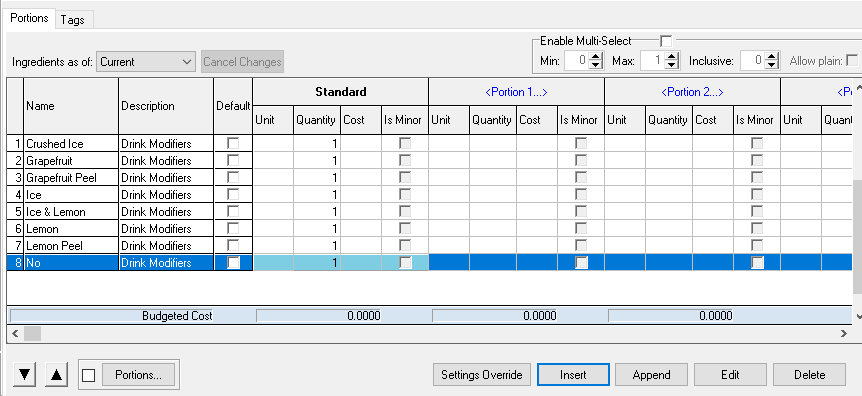
Repeat steps 4-6 to add all items to the choice
Insert will add the item above the row selected
Append will add the item below the row selected
Use the Up / Down Arrow buttons to reorder the selected items within the choice
-
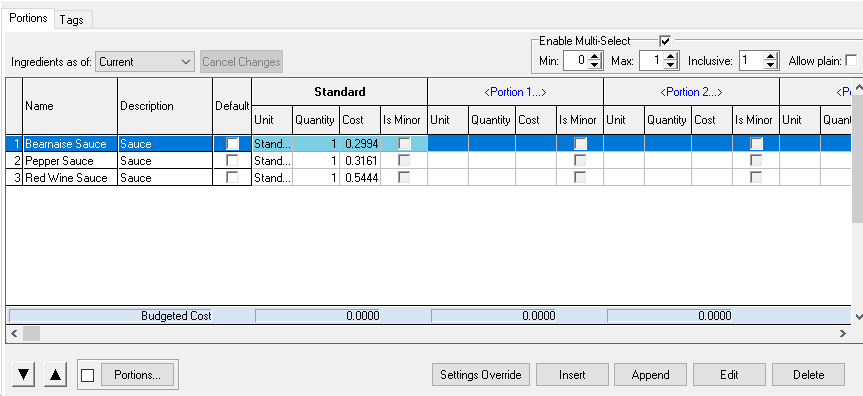
When all items are added an optional configuration can be applied by selecting Enable Multi-Select
When enabling multi-select a POS operator or guest can make multiple selections from the choice, if this option is not enabled only 1 item can be selected from the choice-
Minimum - minimum number of products to be selected during the ordering process
-
Maximum - maximum number of products to be selected during the ordering process
-
Inclusive - number of items before the guest is charged
This setting is only relevant if there are Recipe or Standard Line products added -
Allow Plain - enables a button to be displayed on the POS which will remove default choices and set the product choice to be 'Plain'
This setting is only relevant if there are default options selected
-
-
If required | click Tags | set any tags as needed (optional)
Adding Choices - with Recipes or Standard Lines
The following information details creating a basic choice with recipes or standard lines using the standard choice portion, for more information and examples of advanced choice management click here.
-
Follow steps 1 - 5 above and select a Recipe or Standard Line to add to the choice
-
Click OK
-
Complete the Ingredient Details mapping
-
Unit Type - preselected to portion
-
Unit - select the portion
The unit drop down will be pre-populated with all portion of the selected recipe -
Quantity - enter the required quantity
The quantity entered will determine the amount of the selected recipe from stock, it will not display on point of sale terminals or print / kitchen screen dispense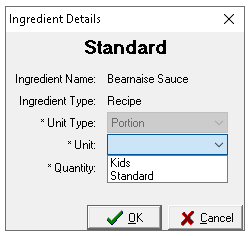
-
-
Repeat until all items are added
Insert will add the item above the row selected
Append will add the item below the row selected
Use the Up / Down Arrow buttons to reorder the selected items within the choice
-
When all items are added an optional configuration can be applied by selecting Enable Multi-Select
When enabling multi-select a POS operator or guest can make multiple selections from the choice, if this option is not enabled only 1 item can be selected from the choice-
Minimum - minimum number of products to be selected during the ordering process
-
Maximum - maximum number of products to be selected during the ordering process
-
Inclusive - number of items before the guest is charged
This setting is only relevant if there are Recipe or Standard Line products added -
Allow Plain - enables a button to be displayed on the POS which will remove default choices and set the product choice to be 'Plain'
This setting is only relevant if there are default options selected
-
-
If required | click Tags | set any tags as needed (optional)
Adding Choices with Default Items
Choices can be configured with 'Default Items', meaning that when a product with the selected choice is sold, these items are automatically assumed to be prepared and served alongside it. However, during the ordering process, default items can be deselected, allowing guests to customise their order.
Examples
-
Pizza Toppings
-
Burger Toppings
-
Complete the setup of the choice as per previous steps, for each product added to the choice that is Default set the check box within the grid
To set Default items the Enable Multi-Select check box must be enabledBurger Toppings Example:
All items are default, additionally plain is selected meaning all toppings could be turned off during order by tapping the 'plain' button on the point of sale terminal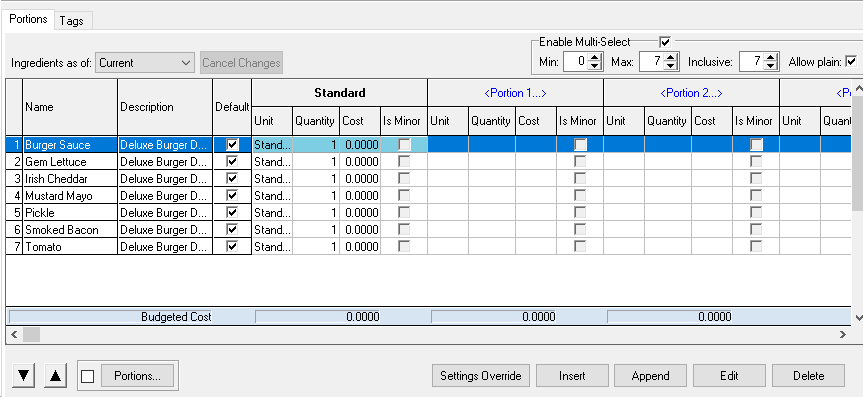
Burger Cooking Temperature Example:
Burgers are normally served medium so one item is default (medium) is set with a minimum choice selection of 1 as the cooking temperature is always required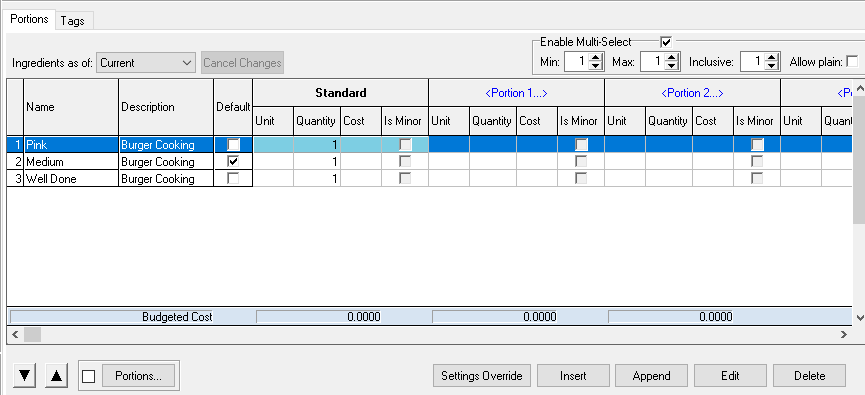
-
The follow rules should be observed when using default items
-
Inclusive - must be greater than or equal to the number of the selected defaults
-
Maximum - must be greater than or equal to the number of selected defaults
-
Clone Choices
The clone option provides a quick way to create an exact copy of an existing choice, allowing modifications to be made without having to set up the entire choice from scratch.
Follow these steps to clone a choice:
-
Select the choice from the list (to clone)
-
Click Clone
-
Enter the Retail Name and update any other settings, product selections as required
Deleting Choices
Follow these steps to delete choices:
-
Select the choice from the list
-
Click Delete
-
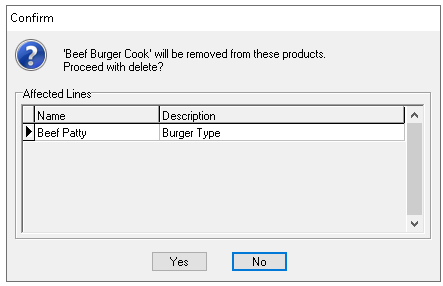
Confirm the deletion by clicking Yes
If the choice is associated to any other product type a warning will be shown that advises the choice will be removed from other effected lines
Click Yes or No to confirm as required
Field Settings & Information
| Field | Description |
|---|---|
| Retail Name | Name of the choice used across the platform - 16 characters |
| Description | Description of the choice - 40 characters (optional) |
| Touch Screen Name | Name of the choice displayed on point of sale terminals |
| Subcategory | Subcategory assigned to the product from the drop down |
| Import / Export Ref | Internal or third party ID (optional) |
| Product Type | Drop down to define the type of product - Choice |
| Entity Code | System ID of the instruction automatically added when the choice is created |
| KDS Item ID | ID used for some kitchen management systems |
| Settings Override |
Within the overall settings configuration of product modelling is the ability to define the default choice costing behaviour On a per choice basis it is possible to override the default settings Click Settings Override → Deselect Use System Default → Choose alternative costing option |