Redemptions
Savvy gift cards can be redeemed at the point of sale to pay for a transaction. To enable the Savvy feature, complete the setup on the following page.
Redemptions Topics
Requirements
Credentials & Settings
The following credentials and settings should be provided by Savvy:
-
Admin Team ID
-
Base URL
-
Auth URL
-
Merchant ID
-
Subscription Key
-
Password
Setup
Head Office Site Master
Payment Method
Follow these steps to add room payment method:
-
Click Enter the following information
-
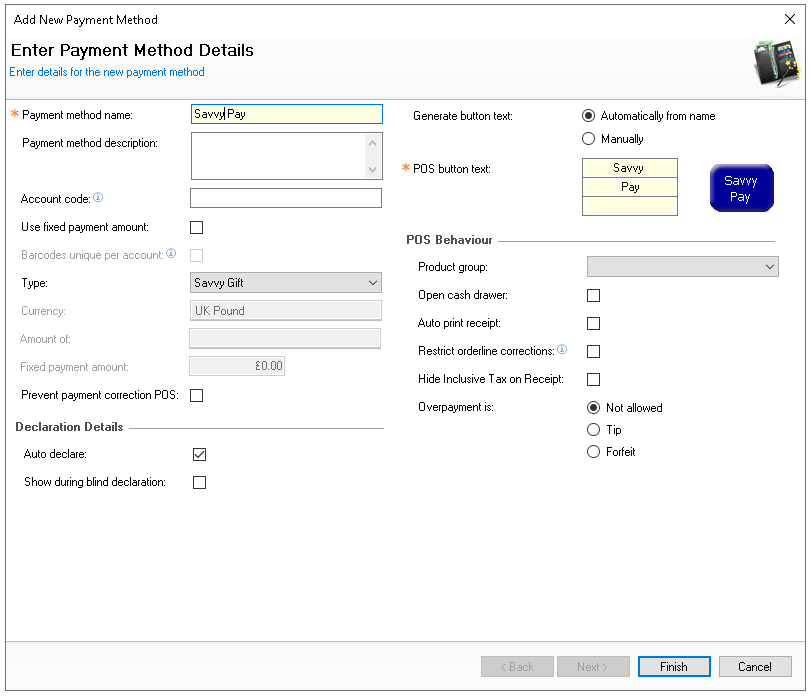
Enter the name 'Savvy Pay'
-
Set the following options
-
Auto Declare - Enabled
-
Type - Savvy Gift
-
-
Set other fields and settings as required
-
Click Finish
-
Select the required Theme Panel Design or Shared Panel where the buttons should be added
-
From the Button Picker | Other Lists | Payment add the Savvy Pay payment method
For more information on adding buttons to shared panels click here -
Click Save
Balance Check
If required, a balance check button can also be added, which enables POS operators to check the balance of a gift card without needing to perform any sale or redemption activity.
Follow these steps to add the balance check function:
-
Select the required Theme Panel Design or Shared Panel where the buttons should be added
-
From the Button Picker | Other Lists | iZone add the Savvy Gift Balance button
-
Click Save
POS Integration Configuration
Follow these steps to configure the plugin information:
-
From the Plugin drop down select Savvy
-
Enter the following required information
-
Admin Team ID - as provided by Savvy
-
Base URL - as provided by Savvy
-
Auth URL- as provided by Savvy
-
Merchant ID - as provided by Savvy
-
Subscription Key - as provided by Savvy
-
Password - as provided by Savvy
-
Background Processing - no entry required - defaults to 300 in the background, if this needs to be changed and updated value can be added
-
How often the system automatically retries sending any pending payment corrections to Savvy in the background (in seconds)
-
-
Days to Expire After Reversal - no entry required - defaults to 1 in the background, if this needs to be changed and updated value can be added
-
How many days the system keeps trying to send a payment correction to Savvy before giving up
-
-
-
Click Save
Prefixes
For the point of sale terminal to recognise gift cards and perform the appropriate actions when they are entered or scanned, the prefix groups must be updated to match the specified number of digits that make up the gift card prefix.
Remember to include any virtual card prefixes as well physical plastic cards.
For more information on managing prefixes click here to view the prefix setup help guide.
Other Setup
Site Master Site
-
POS Integration - 1.52.0 or above installed with Savvy
Requests for POS Integration installation should be made to your Zonal Account Representative