Integration Setup
The following integration setup should be completed to link the Aztec Point of Sale to the DRS system.
Room Charge Topics
Requirements
The following details should be provided by the customer using DRS:
-
DRS IP Address
-
DRS Port
-
DRS Username
-
DRS Password
-
InClub DB Connection
-
DRS Site ID
Setup
Head Office Site Master
Payment Method
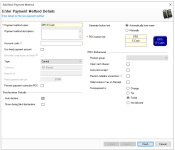
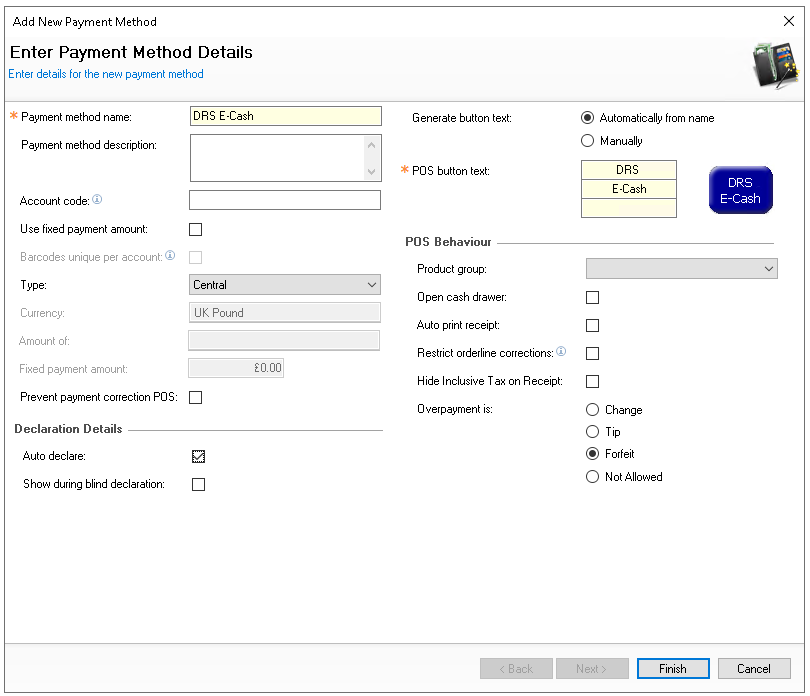
Follow these steps to add the required three payment methods:
-
Click Add and the following information
-
Enter the Name for the payment method (repeated for each of the below)
-
DRS E-Cash
-
DRS Man Comp
-
DRS Points
-
-
Set the following options
-
Auto Declare - Enabled
-
Overpayment Is - Forfeit
-
Type - Central
-
-
Set other fields and settings as required
-
Click Finish
-
Select the required Theme Panel Design or Shared Panel where the buttons should be added
-
From the Button Picker | Other Lists | Payment add the three DRS payment methods
For more information on adding buttons to shared panels click here -
Click Save
Theme Panel Settings
Follow these steps to add the required buttons to the theme:
-
Select the required Theme Panel Design or Shared Panel where the buttons should be added
-
From the Button Picker | Other Lists | iZone add the following buttons
-
DRS Card Swipe
-
DRS Manual Search
-
DRS Reverse Payment Method
For more information on adding buttons to shared panels click here -
-
Click Save
POS Integration Configuration
Follow these steps to configure the plugin information:
-
From the Plugin drop down select DRS
-
Enter the following required information
-
DRS IP Address - IP address of the DRS system
-
DRS Port Number - port number of the DRS system
This will need to be opened on the site PC firewall if not already open -
DRS Username - unique username for the integration to login to the DRS system
-
DRS Password - unique password for the integration to login to the DRS system
-
InClub Db Connection - the connection string for the in-club database, used when running a query on members visited today
Example string: Data Source=10.50.1.166;Initial Catalog=Zonal;User ID=zonal_usr;Password=*********** -
E-Cash Payment Method ID - Aztec database ID for the payment method
-
Visible Balance Payment Method ID - Aztec database ID for the payment method
-
Manager Comp Payment Method ID - Aztec database ID for the payment method
-
Manager Role ID(s) - Aztec database IDs for job roles
-
DRS Site ID - the ID of the site as held in DRS system
For assistance with any Aztec database ID contact your Zonal Account RepresentativeCare must be taken to ensure that the same payment method ID is not used for different balances -
Bonus Cash Payment Method - Aztec database ID for the payment method
-
Bonus Cash Enable - check box to enable the bonus cash payment method to be used within the DRS interface (rather than on the point of sale)
-
-
Click Save
-
Repeat for all required Sites
Prefix Groups
The prefix groups are used the identifier for the point of sale terminal to correctly use the correct integration when processing transactions.
Follow these steps to add prefix groups:
-
Click Add
-
Enter the Group Name
-
Click Add
-
Select the Account DRS | enter the following details
-
Prefix
-
Min Length
-
Max Length
Example: Prefix: 3 | Min Length: 2 | Max Length: 25
-
-
Click Save
-
Click Edit Locations assign to the group to the Estate Level
All sites will inherit these settings
Other Setup
Site Master Site
-
POS Integration - 1.61.1 or above installed with DRS Plugin
Requests for POS Integration installation should be made to your Zonal Account Representative
Certificate Installation
Connection to the DRS system requires a certificate file to allow API calls to be made. This certificate file is generated by the local DRS instance and must be copied to the following location on the PC running the DRS plugin:
C:\Program Files (x86)\Zonal\CLM\CLMWebService
The certificate file must also be named “zonal.pfx” to ensure that it replaces the placeholder certificate file.