Table plans offer a visual representation of the site, or specific areas within it. Up to 25 plans can be created to suit different layouts or operational needs.
Table Plans Topics
Adding Table Plans
Follow these steps to add a table plan:
-
Click Add
-
Enter the Site Table Plan Name and Description (optional)
-
Click OK
Adding Tables
Follow these steps to design a table plan:
-
Select the required plan
-
Click Design
Depending on the plan selected this may already have tables added or be a blank black screen -
Right click on the black canvas and choose an option
-
New Square Table
-
New Diamond Table
-
New Round Table
-
New Label
If the table shape selected is wrong or changes later this can be updated separately -
-
Enter the Table Number
-
Click OK
-
Continue adding all the required table shapes and numbers
Table numbers are unique across the system, if your site has two or more of the same table number Zonal recommends to prefix this with additional digits such as 1001, 2001 etc -
Tables can be resized using the toggles on the table to drag and increase / decrease the size

Adding Labels
Labels are useful for identifying different areas and for building up sections or walls on the plan, helping to create a layout that more accurately reflects the real world space.
Follow these steps to add labels:
-
Right click on the black canvas and choose an New Label
-
Update the Text Label and Font Size (if required), choose the required Text and Background Colour
Zonal recommends removing text and setting both colour options to be the same to create walls or dividers for the plan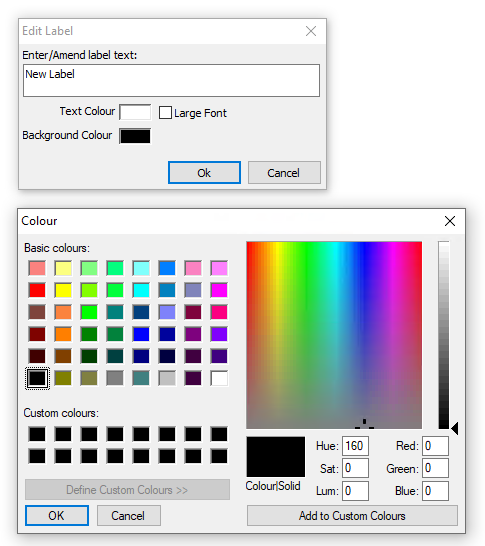
-
Click OK
-
Click Save
Updating Tables
Changing Shape
Follow these steps to change table shape:
-
Double click on the table
-
From the seat planner select the drop down and choose an alternative shape
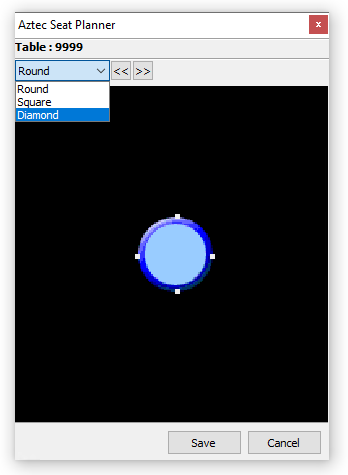
-
Click Save
Adding Seats
If your organisation operates with per seat ordering (where individual guest orders are placed on a per seat basis) each table needing this functionality should have the seats added.
Follow these steps to add seats:
-
Double click on the table
-
From the seat planner add seats by
-
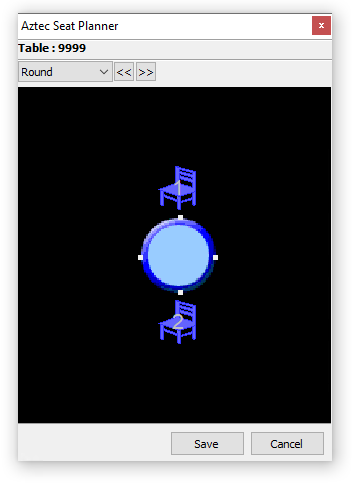
Round Tables
-
Double clicking anywhere around the and the seats will be added
-
-
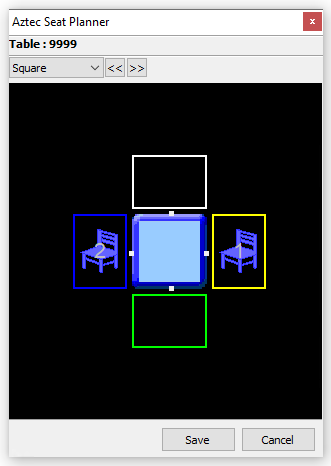
Square or Diamond Tables
-
Double clicking into the colour boxes around the table and the seats will be added
-
Seats can be removed by dragging and dropping them onto the blue table in the centre -
-
Click Save
-
Continue adding all the required seats on each table
Deleting Tables
Follow these steps to delete a table:
-
Click a table so it is selected
-
Press the <Delete> button on your keyboard
-
Click Save