Enhanced BOGOF
This promotion type has the same functionality as a normal BOGOF but has additional options to control the behaviour of products within a choice.
Examples
-
Buy 1 Double Spirit and Get a Spirit & Mixer Free
-
Buy a Pizza at the Normal Price - Get Free Extra Toppings
Follow these steps to add a new Enhanced BOGOF promotion:
-
Click New
-
Enter Promotion Name and Description (optional but recommended)
-
Set the Promotion Type to be Enhanced BOGOF
-
Set the required Promotion Bias
-
Favour Company
-
Favour Customer
-
-
Optionally set Promotion Verification selecting By Card Swipe and choose the required Security Card Group
Card ranges and groups are required to be setup before being able to select from these options, click here for more information on managing these settings. The card validation setting is now a redundant setting -
Optionally set the following other settings
-
Only Available within Event Pricing - when enabled this promotion will only be active during an event, at all other times this promotion will not trigger
-
Hide Promotion Details from Customer - when enabled this setting will hide any promotion information from the customer and just show the final prices to be paid
Zonal recommends this setting when a promotion is configured to increase the price -
Available for all Payments - when enabled this promotion will remain active regardless of any payment settings (that could disable a promotion)
-
Available for all Discounts - when enabled this promotion will remain active regardless of any discount settings (that could disable a promotion)
-
Allow Tariff Price Increase - when enabled this promotion can generate a price higher than the normal selling price of a product
-
Group Items Under Promotion - when a bill or receipt is printed items related to this promotion will be grouped under the promotion name so it is clear which products were part of the promotion
-
Reference Required - when the promotion activates it will prompt the POS operator to enter a reference
This setting only prompts when activated by card swipe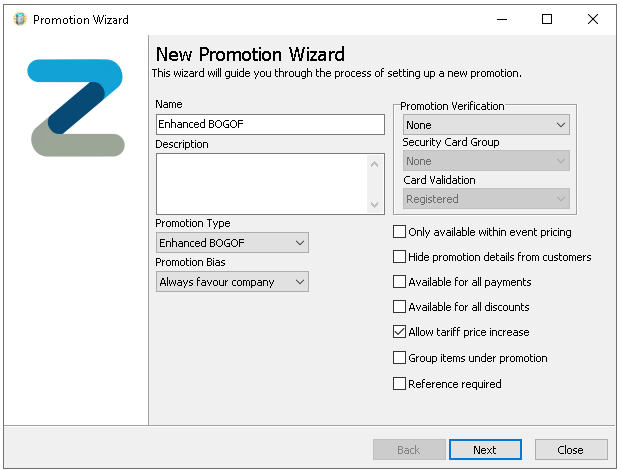
-
-
Click Next
-
Select the required Sites and Sales Areas from the Estate Structure which will apply to the promotion
Expand the estate hierarchy to make selections and use the arrow buttons to add the selected locations or apply search and tag filters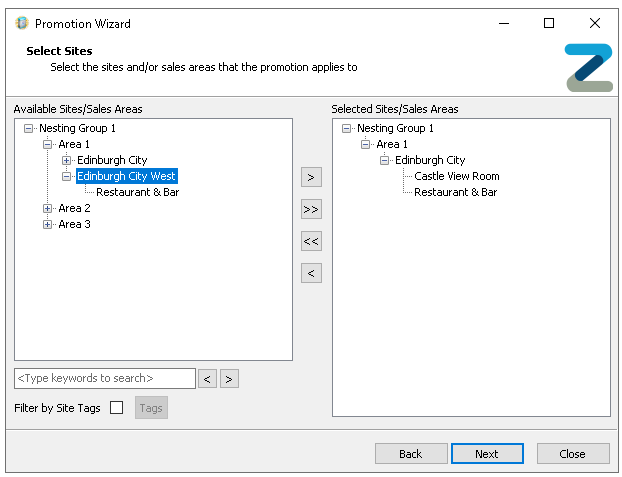
-
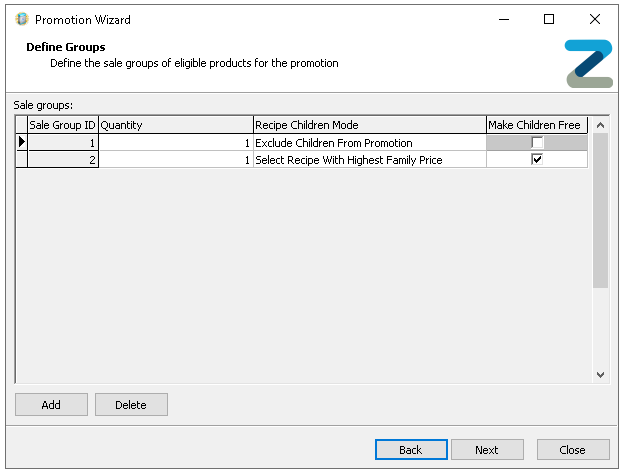
Define number of Sales Groups and Quantities that will be applicable for the promotion
-
Click Add until the required number of groups are added
-
Set the Quantity (of each product to be purchased) for each group for the promotion to activate
-
Select the Recipe Children Mode
-
Exclude Children From Promotion - choice items or products Anded will not be included in the promotion
-
Select Recipe with the Highest Family Price - products with the highest total price (main product and choice products added together) will be used for the promotion
-
Select Receipt with the Lowest Family Price - products with the lowest total price (main product and choice products added together) will be used for the promotion
-
-
Enable Make Children Free (for the required group) - when selected choice items will be made free
-
-
Click Next
-
Select the required Products and Portions from the Product Structure which will apply to Group 1 and any additional groups added
Expand the product hierarchy to make selections and use the arrow buttons to add the selected product levels, individual products and portions, or apply search and tag filters to make finding products easier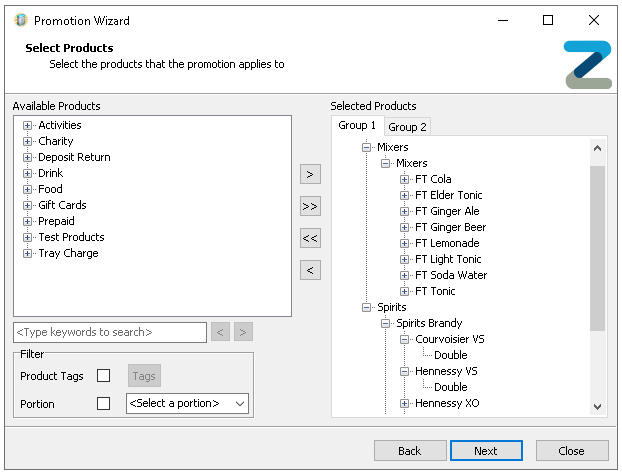 At least one product must be added per group before being able to continue
 -
Click Next
-
Set the required Activation Details with the following options
-
Start Date - defaults to todays date
-
End Date - defaults to empty and if left blank the promotion will run indefinitely
-
Promotion Runs at All Times - defaults to selected
-
Days Active - defaults to all selected
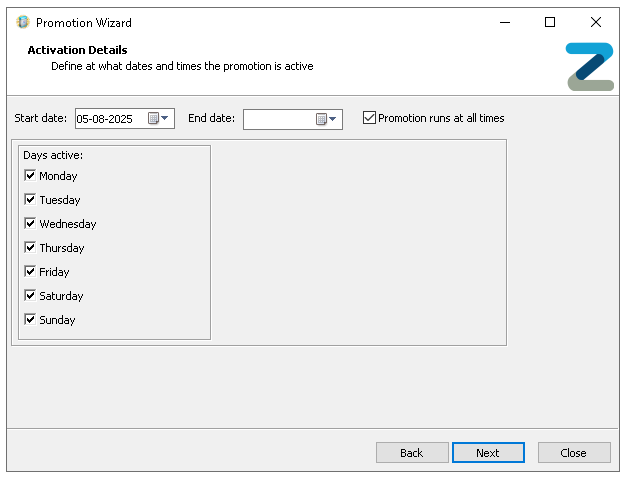
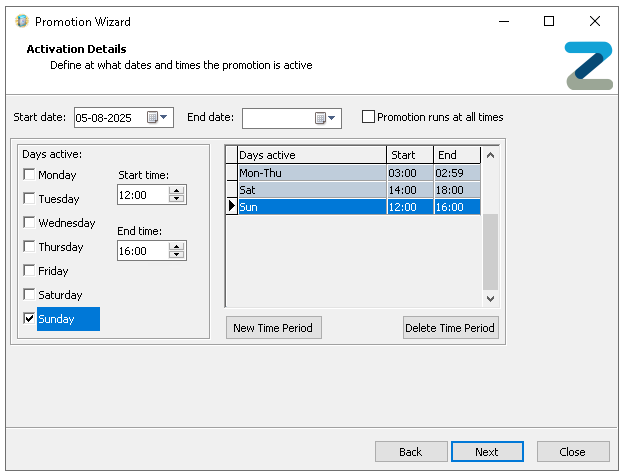
Deselecting the 'Promotion Runs at All Times' setting will enable further customisation for when the promotion will be active
-
Start Time
-
End Time
By default the start time will default to the time configured as the rollover time for the estate and the default time will be displayed as finishing 1 minute before the rollover time -
Time Periods
-
Click New Time Period | select the required Days and set the Start and End Times
-
-
-
Optionally if activation exceptions are required they can be added, or click Next to pricing method
Exceptions allow one or more sites and sales areas to have different activation days and times from the original promotion settings. This enables sites to use the same promotion while running it at times that suit their specific needs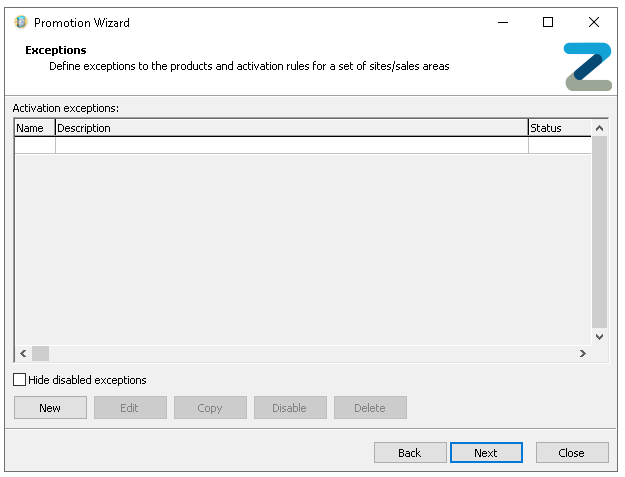
-
Click New
-
Enter Exception Name and Description (optional)
-
Click Next
-
Select the required Sites and Sales Areas from the Estate Structure which will apply to the exception
Only those sites and sales areas already added to the promotion will be displayed for selection -
Click Next
-
Set the required Activation Details for the exception
-
Click Next | click Finish
-
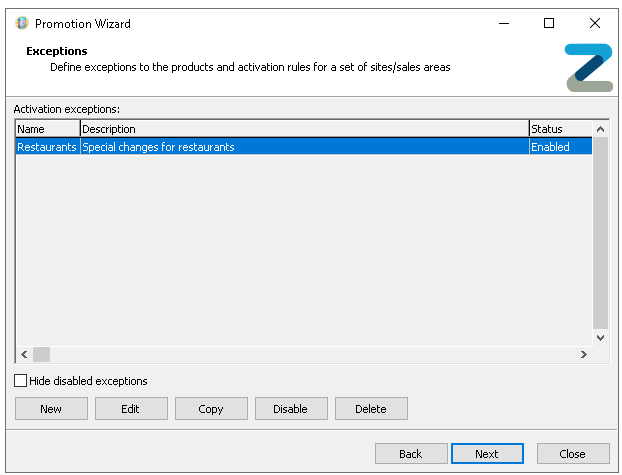
Exceptions have the following other options
-
Copy
-
Select an Existing Exception | click Copy and update details
-
-
Edit
-
Select an Existing Exception | click Edit to update or change details
-
-
Disable / Enable
-
Select an Existing Exception | click Disable or Enable
When an exception is disabled it will revert to the normal promotion activation details
-
-
Delete
-
Select an Existing Exception | click Delete
-
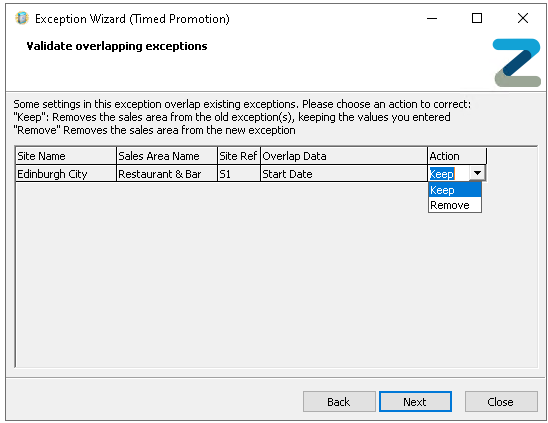
Depending on the settings configured and the sites selected a validation warning can be displayed where an exception overlap can occur, you will be prompted to resolve this by either keeping or removing the settings added
-
-
-
Select the required Pricing Method for each Group
-
Price Entry - when selected prices are defined manually in the promotion
-
Value Increase / Decrease - when selected prices will be automatically calculated by the monetary value entered
Selecting 'Remember Calculation' will keep the promotion synced with any changes made to product prices in the price matrix, if the price changes the calculation will be based on the updated price, if not selected the prices will be retained at the price when the promotion was createdZonal recommends if there are groups where the price does not change in the promotion to set the group to be value increase and leave the value as 0 -
Percentage Increase / Decrease - when selected prices will be automatically calculated by the percentage value entered
Selecting 'Remember Calculation' will keep the promotion synced with any changes made to product prices in the price matrix, if the price changes the calculation will be based on the updated price, if not selected the prices will be retained at the price when the promotion was created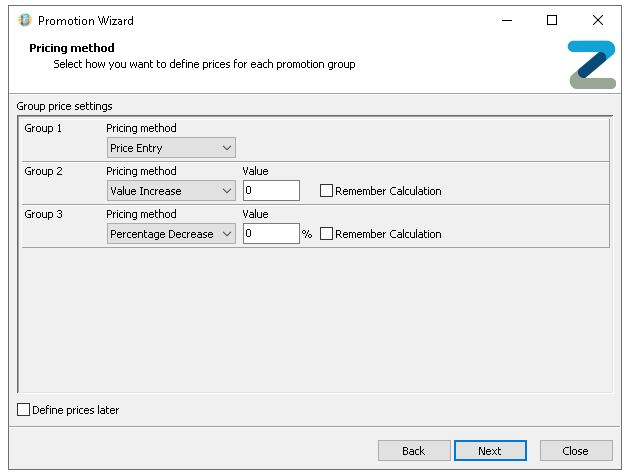
-
Banded Price - when selected and a price band chosen prices will be automatically based on the band selected
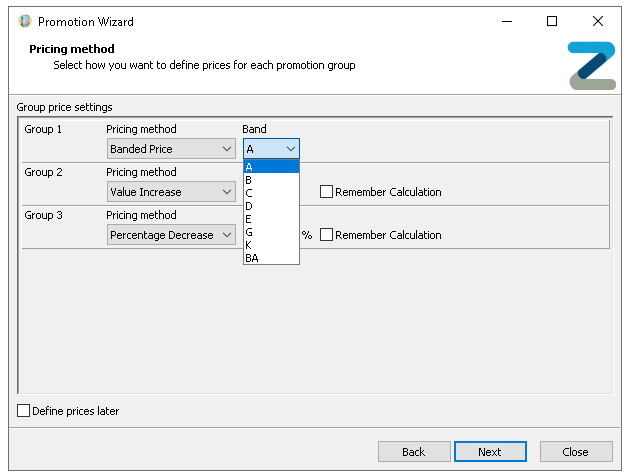 If prices are not yet available to be configured selecting 'Define Prices Later' will allow the promotion setup to be completed, the status of the promotion in the promotion list will be shown as Unpriced
-
-
Optionally if price configuration by portion mapping options are required they can be added, or click Next | the Review / Edit Prices screen is displayed
When a sale group has been defined with value or percentage increase / decrease pricing can use another portions price as a base price for more information on managing portion price mapping click here -
Complete the following
-
Review prices for Increase / Decrease (value and percentage) and Banded Prices
or
-
Edit prices for Price Entry selection by either initially selecting the Group that was configured to Price Entry pricing method from the drop down and either
-
Clicking into a price cell and enter a price
Selecting a site and sales area from the drop down will enable the product list to be filtered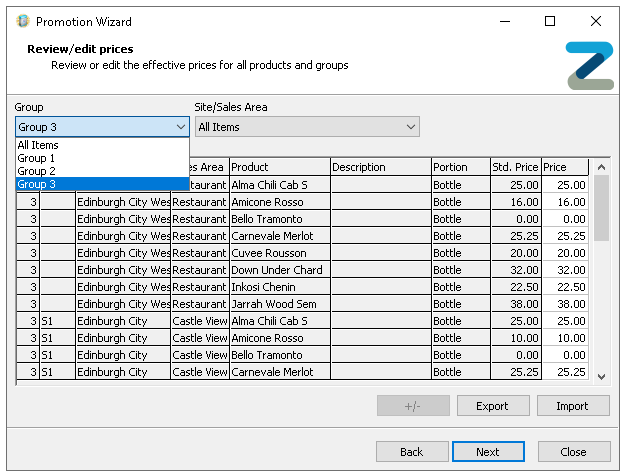 When setting prices manually, you can also enter negative values to apply a discount-style adjustment to an account when the items are ordered
 -
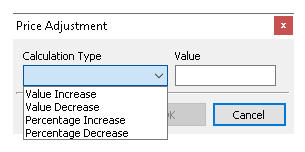
Control+click multiple price cells | click the +/- button and use the price adjustment options enabling a change in bulk
-
Click Export | Open Microsoft Excel or equivalent spread sheet and Paste the price information
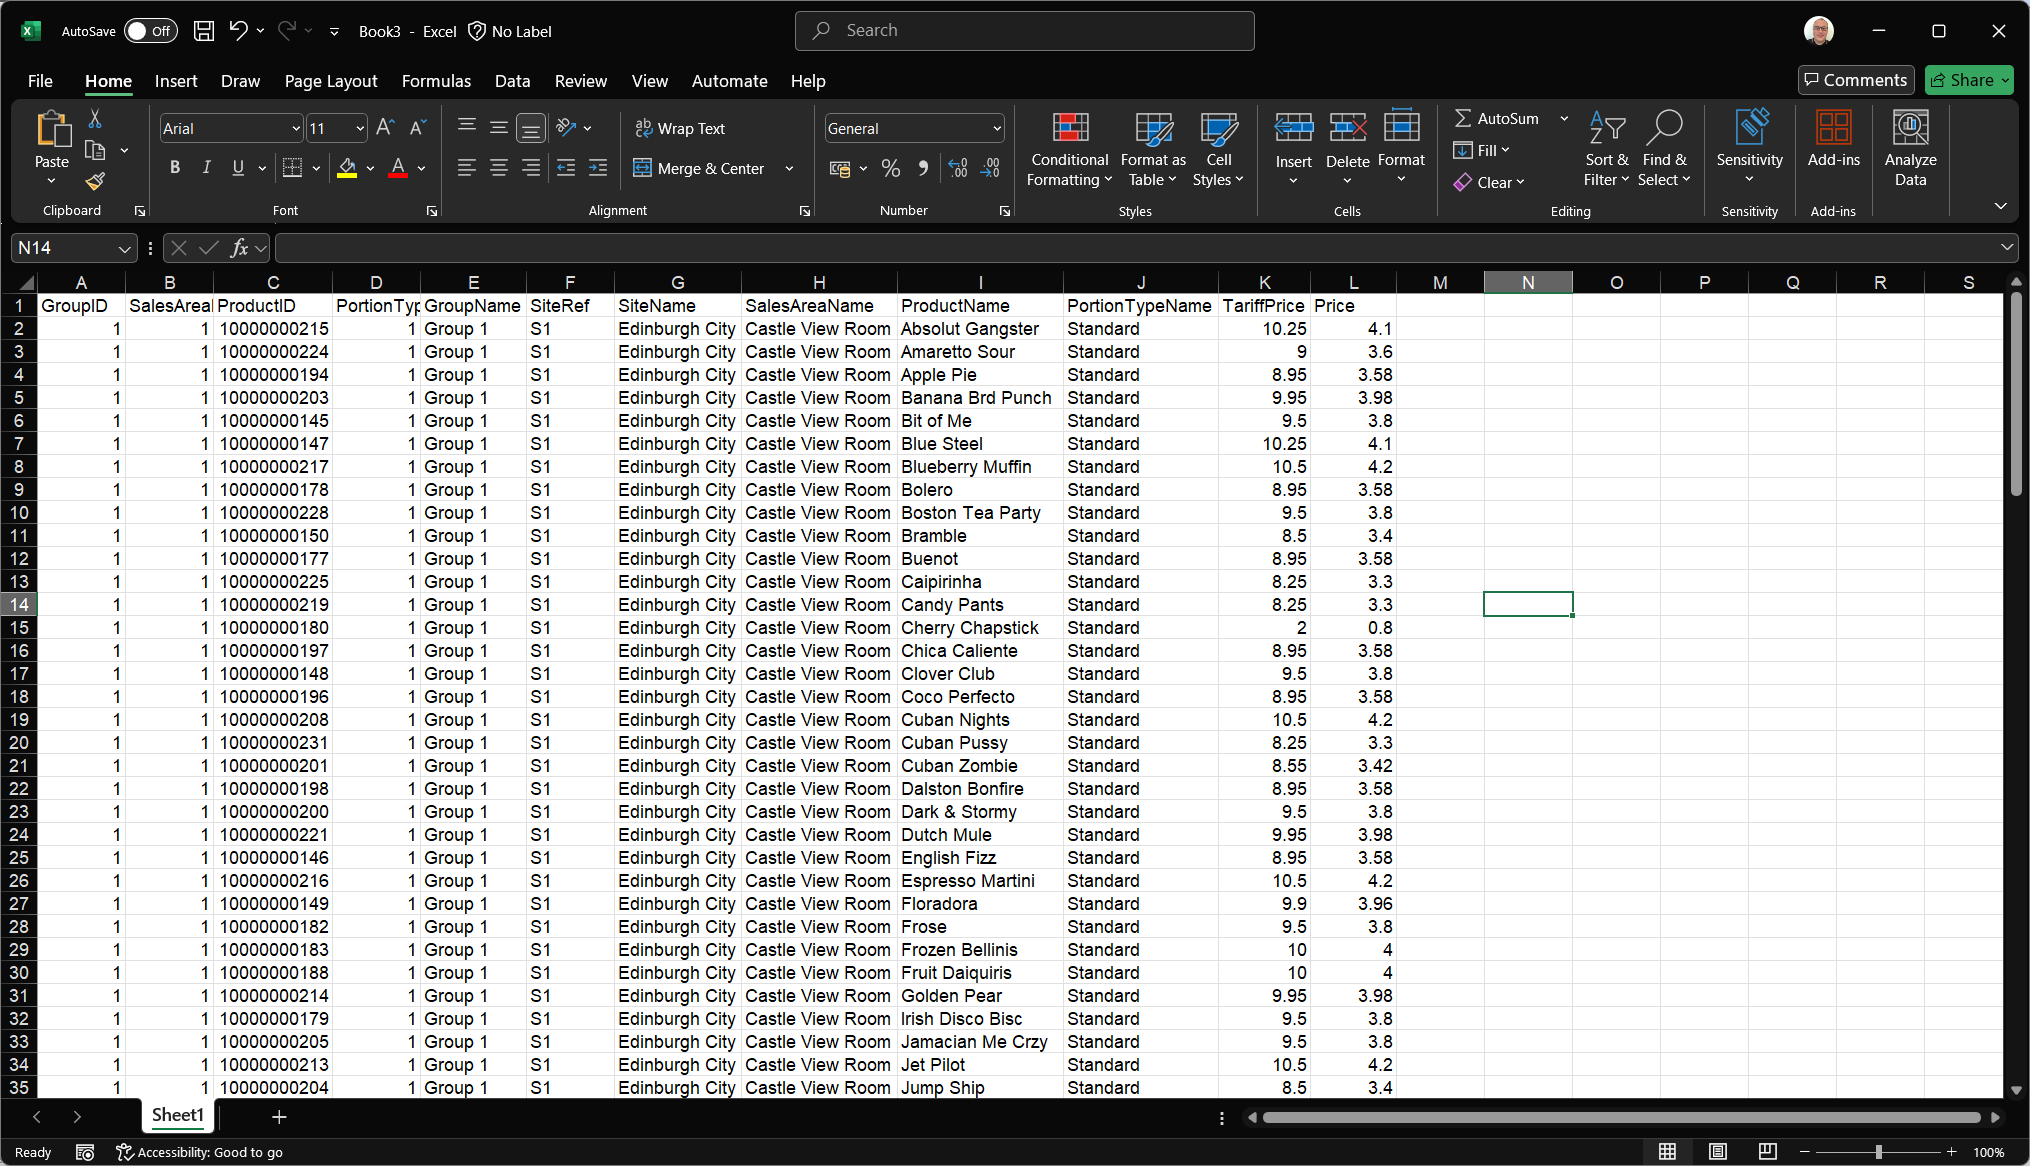 The exported data will include all groups, sites, sales areas and products added to the promotion
 -
Update the prices in the price column (L)as required
Care should be taken not to change any data in the columns A-K as this information is needed when re-importing back to promotions, any changes could cause the import to fail -
Copy all rows and columns of the promotion price data
-
Click Import - the prices changes made will be imported
-
-
-
Click Next | click Finish